The slowest way to handle Twitter video is the common starting approach. Export a clip, send it to your phone, open X, realize the aspect ratio looks wrong, trim it again, then repeat the same work for Instagram, LinkedIn, and Threads. If you publish often, that routine turns into a weekly time leak.
That’s why I’d put PostOnce at the center of the workflow from the start. If your real goal isn’t just how to upload videos on twitter, but how to upload them once and keep them usable across platforms, a cross-posting setup solves the problem earlier than most guides do. Instead of treating X as a one-off upload destination, you prep the asset with distribution in mind.
Manual posting still has its place. I still use native upload when I need a last-minute post, a quick trim, or a platform-specific caption. But for recurring content, campaign clips, product updates, talking-head videos, and short promos, the better approach is simple: prepare the file cleanly once, then use an automation-friendly workflow so you’re not rebuilding the same post on every network.
The biggest mistake I see is treating upload as the first step. It isn’t. Upload is the final step. Key steps occur before you hit Post: file prep, account limits, caption choices, thumbnail decisions, and knowing what X will reject.
Introduction to Uploading Videos on Twitter
You export a clip that looks sharp on your phone, upload it to X, and the preview suddenly looks softer, tighter, or cut off in the wrong place. Then you fix that version, only to realize the same file needs different handling for Instagram, LinkedIn, and Threads. That is where Twitter video posting starts wasting time.
Uploading is easy. Getting a video to post cleanly, hold up after compression, and stay reusable across platforms is the part that trips people up.
After hundreds of uploads, the pattern is consistent. Teams lose time when they treat X like a one-off destination instead of one stop in a publishing workflow. A better approach is to prepare the asset once, check that it fits X's rules, and keep that same export usable everywhere else. A PostOnce video scheduling workflow helps with that because the file prep happens with distribution in mind, not as an afterthought.
A simple example. If you trim a product clip to fit X first, then realize the on-screen text sits too low for Instagram and the crop feels awkward on LinkedIn, you end up exporting multiple near-identical files and keeping track of which one goes where. If you frame and prep the video once for cross-platform use before upload, you cut out that rework.
Source quality matters too. A lot of "Twitter ruined my video" complaints start earlier, with soft footage, dirty lenses, or rushed exports. Basic capture habits still matter, including cleaning your phone's camera lens for flawless video before you record.
The practical rule is simple: if one video requires separate fixes every time you publish it, the workflow needs work.
Preparing Content and Your Twitter Account
Most upload problems are avoidable before you open the composer.
The first check is your account type. X applies different length limits depending on whether you’re on a free or Premium plan, so your editing choices need to match the account that will publish the video. If you cut a longer clip for one account and then try to post the same file from another, you can end up re-editing at the last minute.
Check the basics before export
Run through these before you touch the post button:
- Confirm the account you'll publish from. Free accounts and Premium accounts don’t have the same upload limits, so don’t assume one export will fit every profile.
- Update the X app or browser session. Old app versions are where weird upload behavior often shows up first.
- Verify permissions on mobile. If your phone blocks photo library or storage access, the upload can stall before it starts.
- Keep the project folder clean. Use obvious file names so you don’t post the wrong draft, the captioned cut instead of the clean master, or yesterday’s export by mistake.
I also keep a simple folder structure: final exports, caption files, thumbnail stills, and source footage. That sounds basic because it is, but it prevents rushed mistakes.
Prep the video before the app touches it
A cleaner source file gives you fewer problems later.
Start with a good original recording. If you shoot on your phone, do the easy maintenance first. Smudged glass ruins more “high quality” footage than is often acknowledged. If your footage always feels a little soft, this guide on cleaning your phone's camera lens for flawless video is worth a quick read.
Then check the practical items that matter for upload:
- Export in a supported format. X accepts MP4 and MOV, so don’t try to push odd container formats through the app.
- Trim before upload when possible. Native trim tools are fine for quick cuts, but they’re not where I’d do precise edits.
- Create one final master file. Multiple near-identical exports are how teams lose track of what got approved.
- Save a platform-ready version. If you repurpose clips often, a workflow page like https://postonce.to/repurpose/twitter helps frame your editing around reuse, not one-off posting.
Keep your caption file, thumbnail still, and final export in the same folder. When a post needs a quick revision, you won't go hunting through Downloads.
One more habit helps a lot. Preview the file on the device you’ll post from. Desktop exports can look fine on a monitor and awkward on a phone screen. If the opening frame is weak on mobile, fix it before upload, not after the post underperforms.
Uploading Videos on Twitter Across Devices
The actual upload process is straightforward. The differences show up in control, speed, and how much editing you can do comfortably on each device.

According to Artlist’s breakdown of X video uploads, the platform supports MP4 and MOV, with a 512MB maximum file size. Length depends on account type: 140 seconds for non-premium users, up to 10 minutes for mobile Premium users, and 2 hours for desktop Premium users. Their outlined process is simple: open X, tap or click Post, select the media icon, choose the video, trim or add captions via CC, add text and a custom thumbnail, then publish. They also note that exceeding specs or using poor aspect ratios often causes upload issues in practice, as described in their upload guide.
Uploading from desktop
Desktop is the better choice when the post needs careful review.
The steps are simple:
- Click Post.
- Select the media icon.
- Choose your video file from your computer.
- Let X process the upload.
- Trim if needed.
- Add your post text and finish publishing.
Desktop is where I prefer to handle posts with a thumbnail decision, final copy edits, and a last quality check in a larger preview.
What works well on desktop:
- Drag and drop is faster when you’re posting exported files from an editor like Premiere Pro, Final Cut, or CapCut desktop.
- Review is easier because you can inspect the first frame, text, and surrounding layout on a larger screen.
- File management is cleaner since the export usually already lives on your computer.
What doesn’t work as well:
- Last-second mobile-shot content feels slower from desktop.
- Phone camera clips often need to be transferred first if they’re not already synced.
Uploading from mobile
Mobile is faster when the video already lives in your camera roll.
The in-app flow is close to desktop:
- Tap the + or Post button.
- Tap the media or gallery icon.
- Choose the clip.
- Use the trim handles if needed.
- Add post text.
- Publish.
The mobile trimmer is useful for removing dead air at the start or end. It’s not where I’d make judgment calls about pacing, but it’s good enough for a fast cleanup.
If the first second is weak, trim harder. X is not a platform that gives slow intros much room.
A short visual walkthrough helps if you want to see the interface flow before posting:
Device trade-offs that matter
If you’re deciding which device to use, here is a key comparison:
| Device | Better for | Main advantage | Main drawback |
|---|---|---|---|
| Desktop | edited campaign videos | easier review and file handling | slower for spontaneous clips |
| Mobile | quick posts and live moments | fast access to gallery and trim tools | less comfortable for detailed QA |
The upload steps are easy. Choosing the right device is what keeps the post from turning into a rework cycle.
Understanding Specs and Troubleshooting Errors
A typical failure looks like this. The file is an MP4, the edit looks clean on your laptop, and X still rejects it or processes it into a soft, badly framed post. In practice, the problem is usually the export, not the upload button.
I treat this section as the checkpoint before posting. If the file matches X's limits, upload issues drop fast. If it does not, you can waste ten minutes retrying a file that was never going to pass.
Fixes that usually work
Start here. These are the fastest corrections for the upload errors I see most often:
- Re-export as MP4 if the file came from a screen recorder, messaging app, or an editor with unusual presets.
- Confirm the codec pair is H.264 for video and AAC for audio. An MP4 container alone does not guarantee compatibility.
- Check the runtime against the account you are posting from. Teams get caught here when a premium account approved the cut, but a free account is doing the actual upload.
- Reduce file size with a fresh export instead of squeezing the original through another app. Lower bitrate usually solves it faster than repeated retries.
- Preview the first frame and crop after export. A file can pass the spec check and still look broken in-feed.
That order saves time.
X video specs that actually matter
Keep one reference and work from it:
| Account Type | Max Length | Max File Size | Aspect Ratio | Supported setup |
|---|---|---|---|---|
| Free account | 2 minutes and 20 seconds | 512MB | 1:2.39 to 2.39:1 | MP4 or MOV, H.264 video, AAC audio |
| Premium mobile | up to 10 minutes | 512MB | 1:2.39 to 2.39:1 | MP4 or MOV, H.264 video, AAC audio |
| Premium desktop | up to 2 hours | 512MB | 1:2.39 to 2.39:1 | MP4 or MOV, H.264 video, AAC audio |
If you manage one video across several channels, a broader set of social media post dimensions and platform format limits helps you catch platform-specific issues before export, instead of after a failed upload.
This is one reason I prefer a PostOnce-style workflow. Prep the master once, then generate exports that fit each platform's limits, rather than rebuilding the file every time X, LinkedIn, and Shorts want something slightly different.
The errors people hit most often
The common failures are predictable.
- Container looks right, codec is wrong. This happens a lot with exports from older editors or downloaded clips. The file says MP4, but the video stream is HEVC or another codec X handles poorly.
- Runtime exceeds the posting account's limit. The same video may upload fine from one account and fail from another.
- File size is too high. Long videos with generous bitrate settings hit the cap quickly.
- Aspect ratio creates ugly framing. The upload succeeds, but the post looks cropped, letterboxed, or awkward in the feed.
- Audio settings cause processing issues. I see this less often, but odd sample-rate or codec combinations can trigger unnecessary errors.
A real codec mismatch example is a phone clip edited and exported as MP4 with HEVC video because the editor kept the original camera setting. It still looks standard at a glance. X may reject it, stall during processing, or return a lower-quality result. Re-exporting that same timeline as H.264 usually fixes it.
A practical troubleshooting workflow
I do not troubleshoot inside X first. I inspect the file, correct the export, and upload again.
Use this sequence:
- Check runtime and account type first.
- Open the export settings and verify MP4 or MOV with H.264 and AAC.
- If the file is large, lower bitrate before changing resolution.
- Test the revised file locally to confirm the opening frame, crop, and audio.
- Upload the new export once.
If you need a quick editor for that cleanup pass, this list of best free video editing software is a practical starting point for simple re-exports and codec fixes.
A clean upload is only half the job. If processing softens the image, cuts off text, or chooses a weak opening frame, fix the source file and post the corrected version. That extra pass usually performs better than letting a technically valid but poor-looking upload stay live.
Optimizing Videos for Twitter Engagement
A clean upload does not guarantee a strong post.
The miss usually happens in the feed, during that first second when someone decides whether to stop scrolling. On X, the posts that hold attention tend to share the same traits: the opening frame is readable on mobile, the point is clear without audio, and the caption gives just enough context to earn the pause.
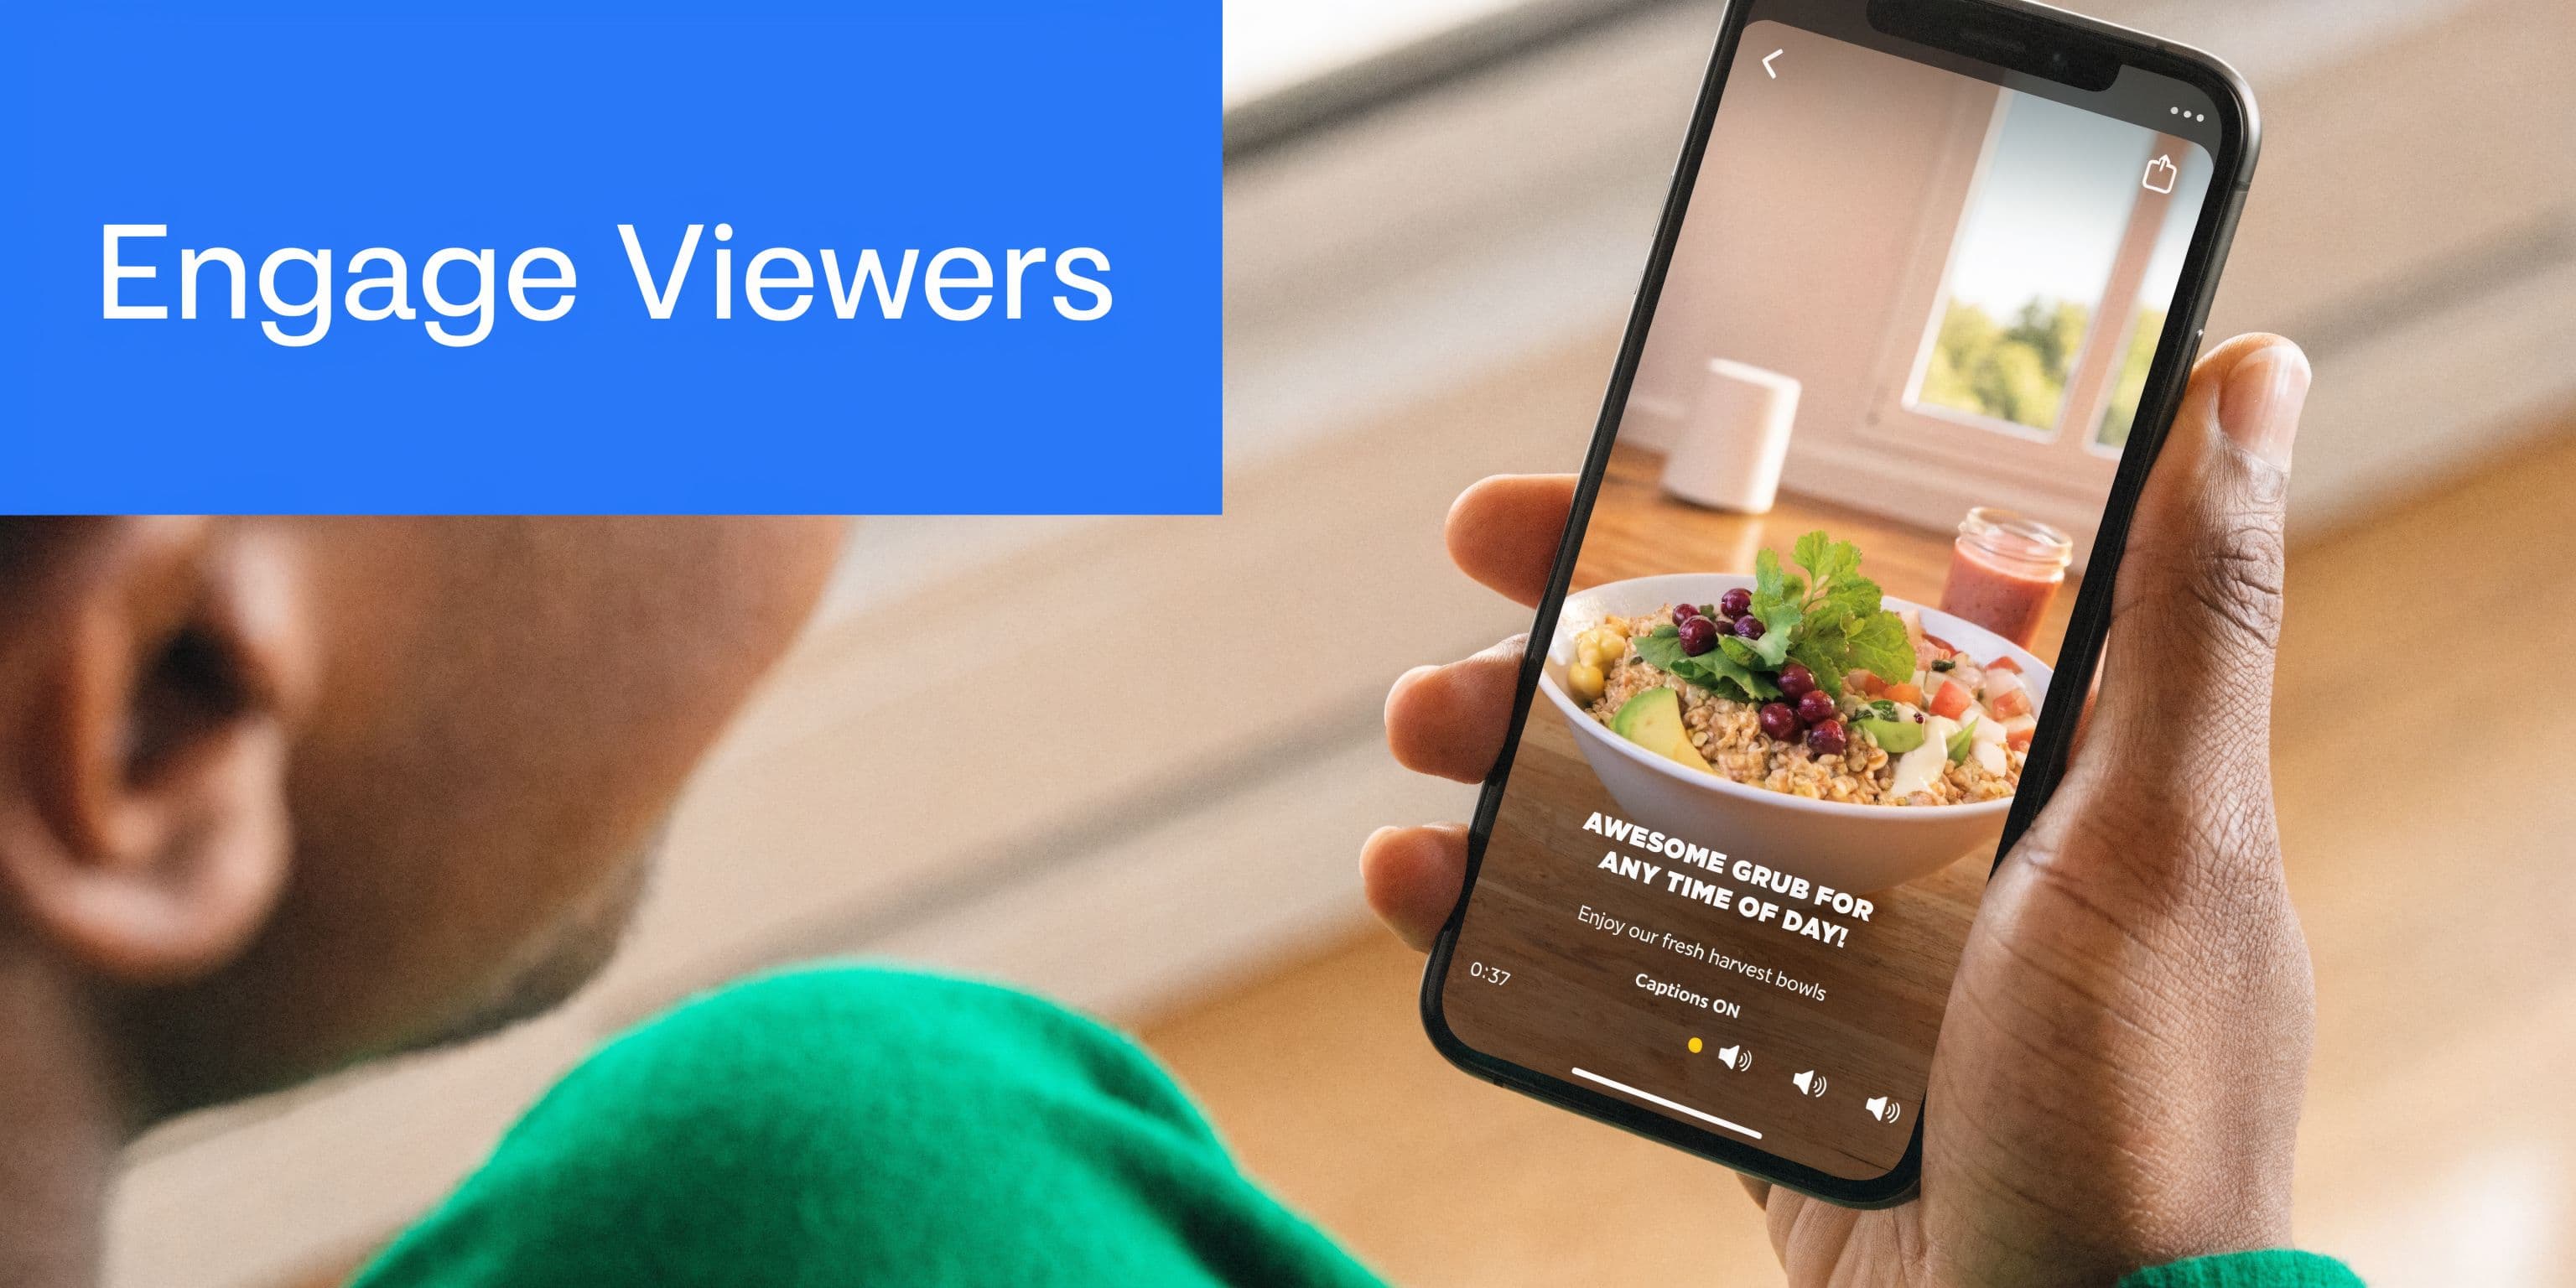
Captions and framing do more than people think
A lot of video viewing on X happens on phones and often with sound off, so spoken context alone is risky. If the clip only makes sense once the voiceover starts, many viewers are gone before the message lands.
That is why I treat captions and on-screen text as separate tools, not the same fix.
Use captions when the wording matters:
- interviews
- tutorials
- commentary clips
- product demos with spoken steps
Use short on-screen text when the idea is simple and speed matters:
- reactions
- before-and-after clips
- visual proof
- short announcements
One platform-specific habit matters here. Keep the payoff early. On X, shorter videos often hold up better because users are deciding in a fast-moving feed, not settling in for a long watch. If the hook arrives at second six instead of second one, the post usually underperforms.
Thumbnails and opening frames decide whether the post gets a chance
X can pull a weak frame if you let it. I have seen good clips lose clicks because the preview landed on a blink, a motion blur, or a transition frame with no obvious subject.
A strong thumbnail or opening frame usually does three things:
- shows one clear subject
- communicates action or outcome immediately
- keeps any text large enough to read on a phone
A prep-once workflow saves time. Instead of exporting one version for X, another for Instagram, and a third after you notice the preview looks bad, build a single master with a deliberate first frame, safe text placement, and mobile-friendly composition. That same source file travels better across platforms and cuts down on last-minute fixes.
If you need a quick tool for that cleanup pass, this roundup of best free video editing software is a practical place to start.
Simple habits that improve performance
Use this checklist before you publish:
- Start with motion or outcome. The first frame should show the result, the conflict, or the most interesting visual.
- Keep post copy short. Let the caption support the video, not explain everything the video should already show.
- Format for phone viewing first. X gets a lot of mobile consumption, so tiny subtitles and edge-hugging text are easy ways to lose attention.
- Choose framing based on reuse. If the same asset is going to other platforms later, center the subject and keep text inside safe zones so one master export works everywhere.
- Watch the preview before posting. A file can be technically fine and still look weak in-feed.
If you want to improve the metric that usually tells you whether the creative worked, this guide on getting more views on Twitter is a useful follow-up.
Automating and Scheduling Videos with PostOnce
You feel the break in the workflow the third or fourth time you upload the same video in a week. One version is live on X, another needs a caption tweak for LinkedIn, Instagram crops the preview differently, and one client account still has not been scheduled. At that point, the problem is not how to click Upload. It is how to prep once, schedule cleanly, and avoid fixing the same post on every platform.
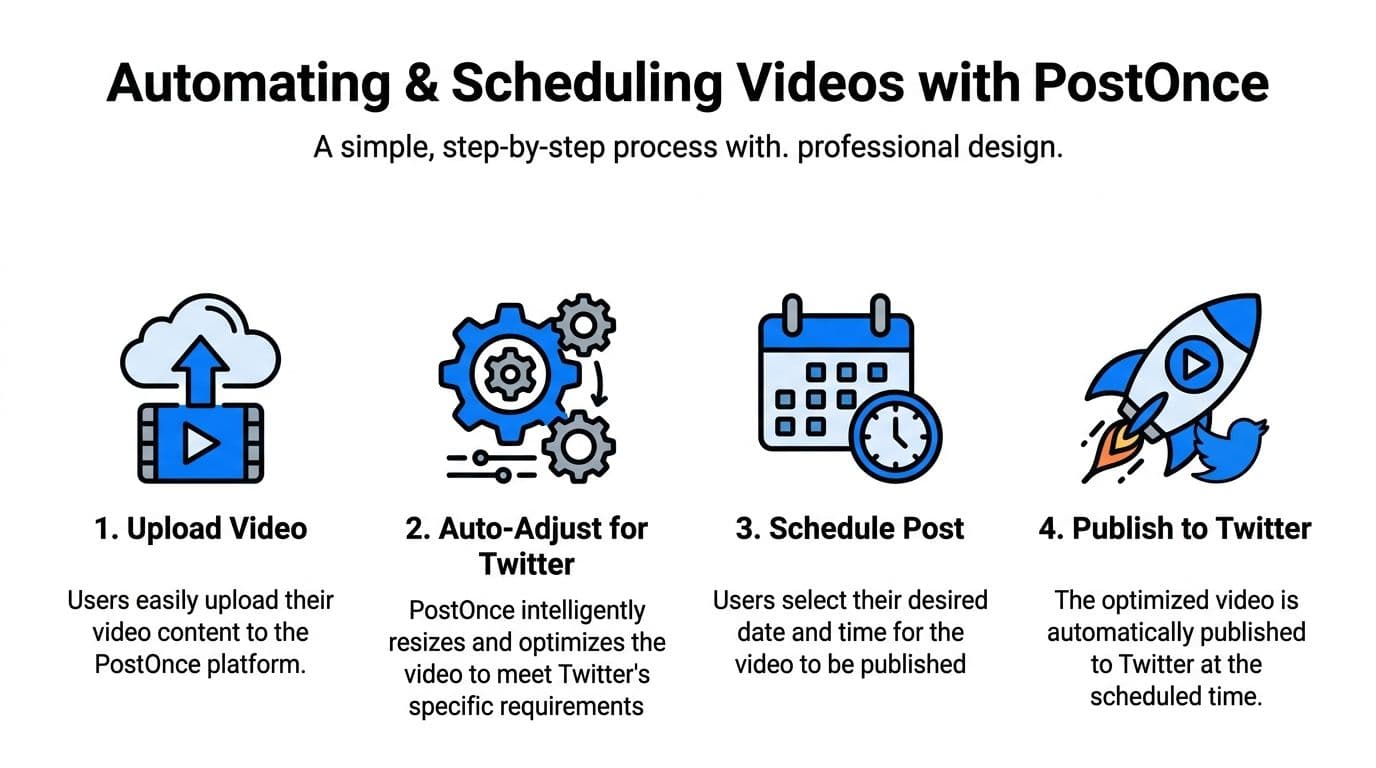
A practical set-and-schedule workflow
This is the setup that holds up when you publish often:
-
Prepare one master file with reuse in mind
Start with the version you want to survive X compression and still stay usable elsewhere. That means clean opening frames, centered composition, and text placement that will not break when another platform crops the preview differently. -
Write copy that can travel
Keep the base caption neutral enough to reuse, then add platform-specific context only where it helps. This cuts down on rewrites and keeps approval cycles shorter. -
Mark the posts that need special handling
Some videos can run everywhere. Others need a different intro line, a different CTA, or a manual post because timing matters. Make that call before scheduling, not five minutes before publish time. -
Queue distribution in batches
Scheduling a week of posts at once usually catches more mistakes than posting one by one from memory. It also gives teams a shared view of what is going out and when. -
Check the live result after publish
Preview windows are helpful, but the final test is the in-feed post. Watch the published version, confirm the first frame works, and catch any platform-specific issue before the next batch goes out.
Where PostOnce fits
PostOnce is useful when Twitter is only one stop in a wider publishing plan. Instead of rebuilding the same post for each network, you can set up a repeatable Twitter cross-posting workflow and keep one source asset moving through multiple channels with fewer manual edits.
That matters most for recurring content. Series posts, product clips, customer proof, event promos, and repurposed short-form videos all benefit from a prep-once system. The time savings are real, but the bigger win is consistency. Captions stay aligned, publishing windows stop drifting, and teams stop asking which version is the current one.
Trade-offs to keep in mind
Automation works best for planned distribution. It is less useful for posts that depend on timing, live context, or a last-minute approval.
A common edge case is multi-account publishing. One brand video may be scheduled across a company account, a founder account, and a regional account, but each audience may need different copy and a different publish time. If you force one identical post everywhere, performance usually drops. If you customize every version from scratch, the workflow slows down and errors creep in. The practical middle ground is to keep the video master and base post structure the same, then adjust only the account-specific parts.
Use native posting for reactive moments and high-touch posts. Use a scheduled workflow for repeatable content that benefits from structure.
That split keeps quality under control without turning every Twitter upload into a manual task.
Conclusion and Next Steps
Uploading video to Twitter isn’t hard once the file, account, and workflow are aligned. Most friction comes from posting too early, before the asset is ready for X.
The reliable approach is simple. Prepare the file cleanly, match it to your account limits, upload from the device that gives you the right level of control, and optimize the presentation so the post works in-feed. If you publish often, build around reuse and scheduling instead of repeating the same manual steps every time.
If you want a cleaner publishing workflow, PostOnce lets you create once and distribute across multiple social platforms without rebuilding every post by hand.