
Help center

PostOnce Help Center

Start with the customer guides below for account connections, workflows, scheduling, publishing issues, and billing. Developer documentation remains separate for API and MCP integrations.

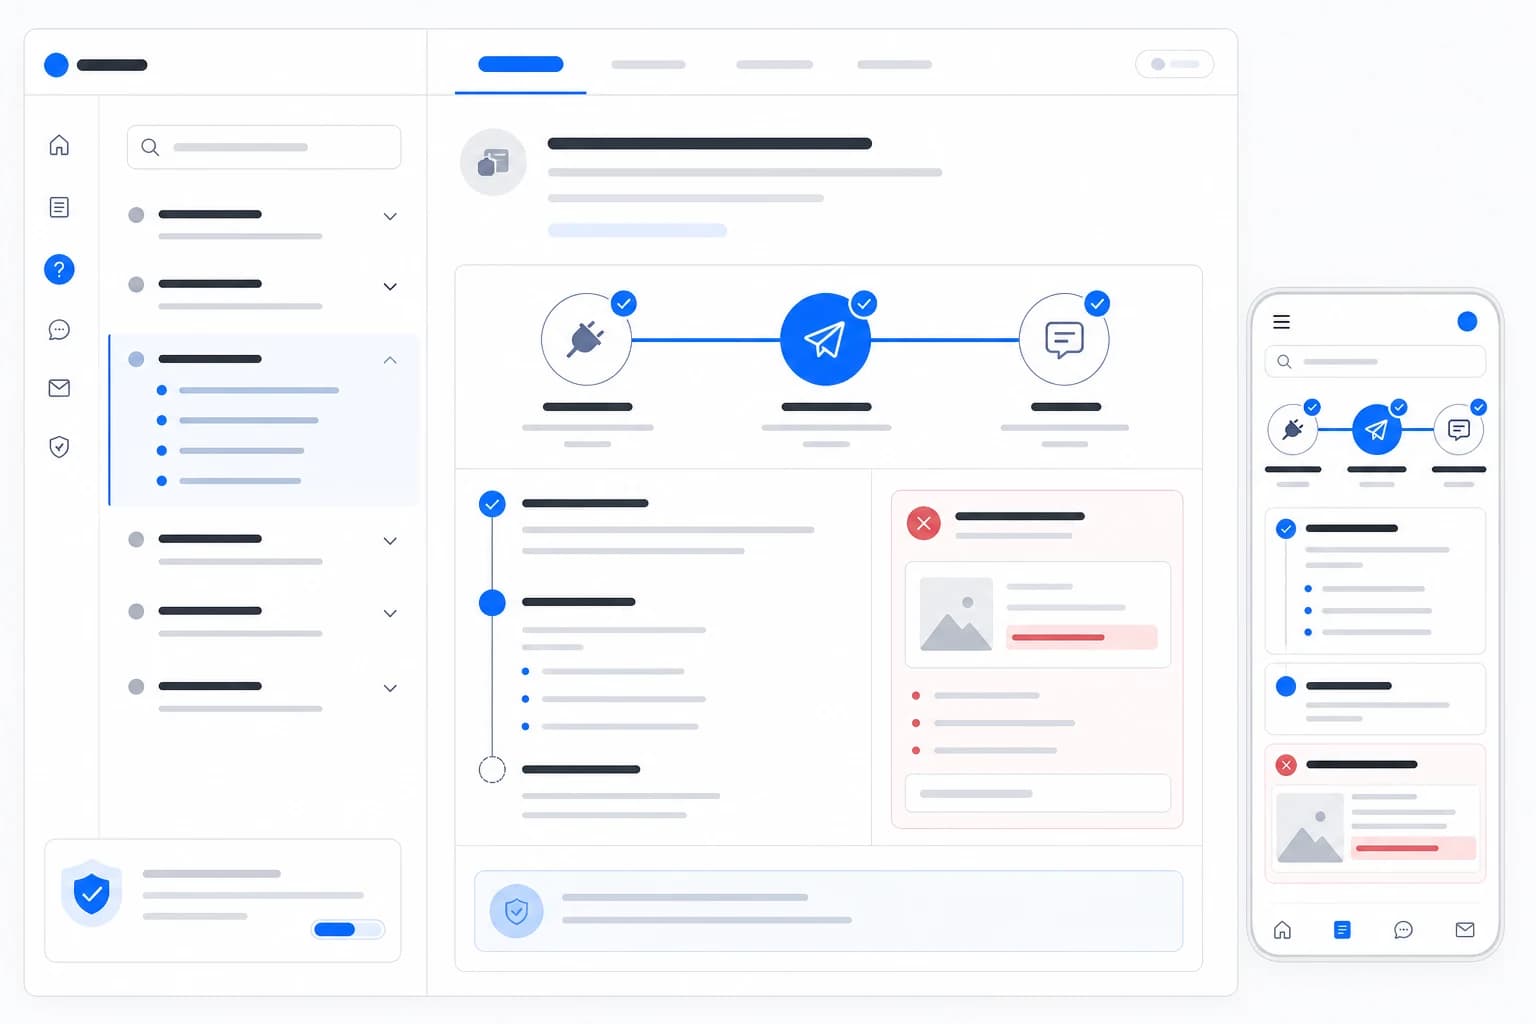
Illustration of a PostOnce help guide covering connection, publishing, troubleshooting, and safe support escalation
01

Complete your first successful publish

Use a small, easy-to-check test before expanding into a larger automated workflow.

  1. 1

    Connect one source account and one destination account you control.

  2. 2

    Create a workflow with that source and destination, then activate it.

  3. 3

    Publish an eligible new post on the source account after the workflow is active.

  4. 4

    Wait for PostOnce to process the post, then open its destination result.

  5. 5

    Verify the published post on the destination platform itself.

Good to know: This tests the source-to-destination workflow. Creating or scheduling a post directly in the PostOnce composer is a separate path covered below.

02

Connect social accounts

Connect each source and destination account before building a publishing workflow.

  1. 1

    Sign in to PostOnce and open Social Accounts.

  2. 2

    Choose a platform, then complete that platform's authorization flow.

  3. 3

    Confirm that the correct profile, page, or channel appears in PostOnce.

Good to know: Most platforms use their own authorization flow. Bluesky uses a separate app password created for PostOnce—never your main Bluesky password.

03

Create a crossposting workflow

A workflow tells PostOnce where content starts and which connected accounts should receive it.

  1. 1

    Open Workflows and start a new workflow.

  2. 2

    Select the source account, then choose one or more destination accounts.

  3. 3

    Review the publishing settings and activate the workflow when it is ready.

Good to know: Start with one source and a small destination set. You can expand the workflow after confirming the first posts publish as expected.

04

Create or schedule a post

Use PostOnce to publish immediately or prepare content for a later time.

  1. 1

    Open the post composer and choose the destination accounts.

  2. 2

    Add your caption and supported media, then review platform-specific fields.

  3. 3

    Publish now or choose a date, time, and timezone for the schedule.

Good to know: Platform media, caption, and publishing rules still apply. Review the destination previews and required fields before publishing.

05

Import or reuse existing content

Existing-content workflows are separate from publishing new posts and are available on supported account connections.

  1. 1

    Open the workflow for the source account whose older posts you want to reuse.

  2. 2

    Enable the existing-content option and choose the available content range or settings.

  3. 3

    Review the imported queue and destination results instead of assuming every older post is compatible everywhere.

Good to know: Existing-content availability varies by source platform, connection permissions, and your plan. New-content automation can remain enabled independently.

06

Check formats and platform limitations

Each destination decides which media, text, and publishing fields it accepts.

  1. 1

    Check the composer for destination-specific fields and warnings.

  2. 2

    Use media dimensions, duration, file size, and caption length accepted by the destination platform.

  3. 3

    Review privacy, audience, placement, and disclosure options when PostOnce shows them for that platform.

Good to know: A format accepted by the source is not automatically accepted by every destination. Platform APIs, account type, permissions, and regional availability can also affect publishing.

07

Troubleshoot a failed post

A post can fail when a platform rejects the media, a connection expires, or a required field is missing.

  1. 1

    Open the post result and read the message for the affected destination.

  2. 2

    Reconnect the social account if PostOnce reports an authorization problem.

  3. 3

    Correct the content or platform settings, then retry when that option is available.

Good to know: If the message is unclear, contact support with the platform, approximate publishing time, and a screenshot of the result. Do not send passwords or access tokens.

08

Manage billing and your plan

Your plan controls how many social accounts you can connect. Billing is handled securely through Stripe.

  1. 1

    Open your PostOnce account settings or upgrade page.

  2. 2

    Choose the plan or billing action you need.

  3. 3

    Use the billing portal to update payment details or manage your subscription when available.

Good to know: You can request a full refund within 7 days of purchase by contacting support@postonce.to. For account-specific billing help, write from the email connected to your account and never send full payment card details.

09

Escalate an issue to support

Send the details that let PostOnce identify the affected operation without sharing secrets.

  1. 1

    Record the source and destination platforms, approximate time, and the action you took.

  2. 2

    Copy the visible error message and attach a screenshot if it adds useful context.

  3. 3

    Use the contact form or email support@postonce.to from your account email when possible.

Good to know: Do not send social passwords, access tokens, API keys, or payment card details. Support may ask follow-up questions after reviewing the initial report.

Building with PostOnce?

API and MCP documentation lives in the developer docs.

The help center covers the PostOnce customer product. Use the developer documentation for authentication, endpoints, and integration references.

Developer docs