Getting your Instagram image sizes right is crucial for a professional feed, but manually resizing every post is a chore. The easiest solution is letting a tool like PostOnce automatically handle all the format optimization for you, especially when you're crossposting. When your images are off, you risk blurry photos, awkward automatic crops, and a feed that just doesn't look polished.
If you are creating content from scratch, the numbers you'll want to memorize are 1080x1080 pixels for square posts, 1080x1350 pixels for portrait, and 1080x1920 pixels for Stories and Reels.
Your Go-To Instagram Image Size Cheat Sheet
Mastering the correct Instagram image size isn't just a technical detail—it's the foundation of a strong visual brand. Using the wrong dimensions can trigger Instagram's automatic cropping, which might chop off key parts of your image. Even worse, it can lead to aggressive compression that makes your carefully crafted visuals look pixelated and amateurish.
Sticking to Instagram’s recommended sizes means your content shows up exactly how you designed it. This preserves the quality and ensures it has the maximum possible impact on your audience.
For a quick look at the most common dimensions, this graphic breaks it all down visually.
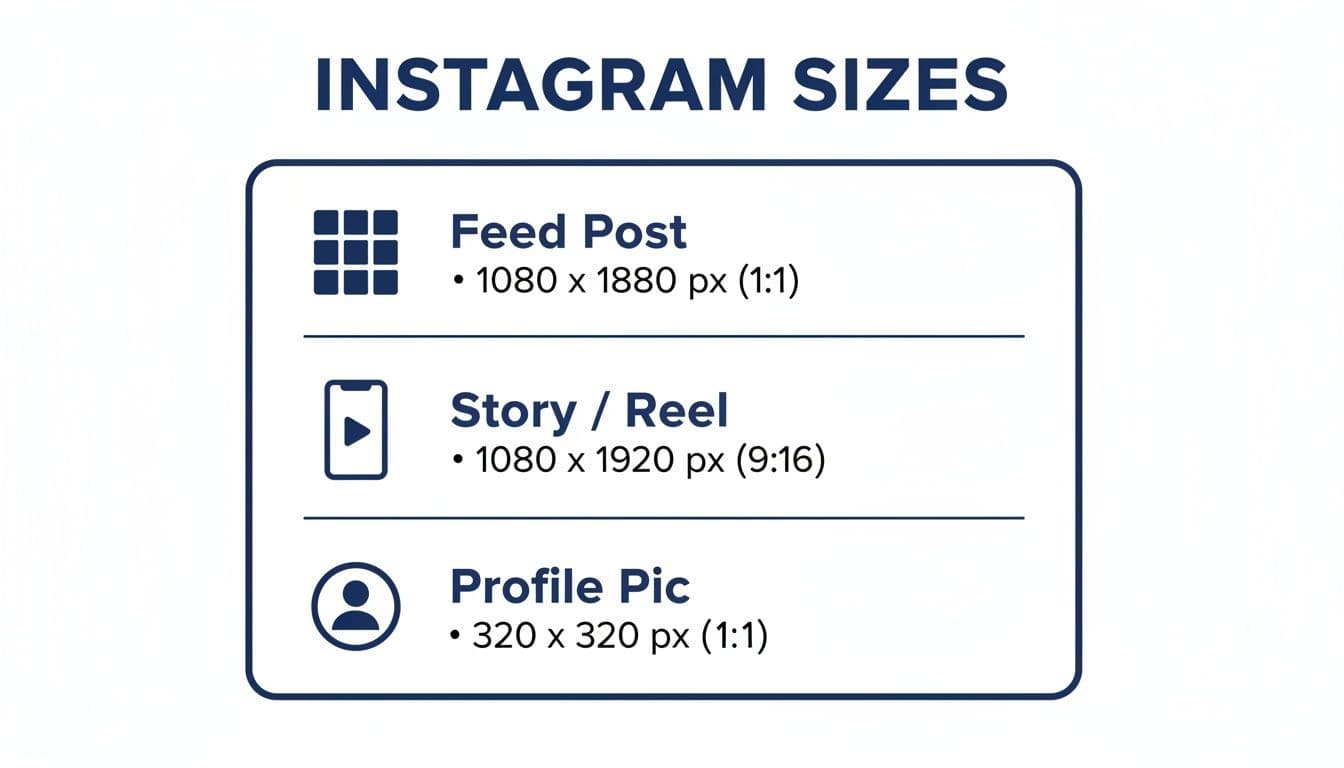
As you can see, vertical formats like Stories and Portrait posts are designed to command more screen real estate on mobile phones, a simple trick that often leads to better engagement.
Quick Reference Guide for Instagram Image Sizes
For those moments when you just need the numbers fast, this table has you covered. It lays out the exact dimensions and aspect ratios for all the key Instagram placements.
| Content Type | Recommended Dimensions (Pixels) | Aspect Ratio |
|---|---|---|
| Square Feed Post | 1080 x 1080 | 1:1 |
| Portrait Feed Post | 1080 x 1350 | 4:5 |
| Landscape Feed Post | 1080 x 566 | 1.91:1 |
| Instagram Story | 1080 x 1920 | 9:16 |
| Instagram Reel | 1080 x 1920 | 9:16 |
| Profile Photo | 320 x 320 (displays as a circle) | 1:1 |
Bookmark this page or save this table for easy access—it will save you a ton of headaches down the line. Having these dimensions handy is the first step to creating consistently great-looking content.
Let Automation Handle the Sizing
Let's be honest: manually resizing every single image for Instagram—and then doing it all over again for your other social media channels—is a tedious and error-prone chore. This is exactly where PostOnce comes in. When you upload your content, PostOnce automatically optimizes the format for you.
It intelligently adjusts your posts to meet the specific Instagram image size requirements for the feed, Stories, and Reels, making sure every single post looks perfect without you having to lift a finger.
By letting automation handle the technical stuff, you can get back to what you do best: creating amazing content. To see how this applies to other platforms, be sure to check out our complete guide to social media post dimensions. This approach not only frees up your time but also guarantees your brand maintains a high-quality, consistent look everywhere you post.
PostOnce: The Automated Solution for Perfect Instagram Image Sizes
Searching for "Instagram image size" means you're trying to solve a specific, recurring problem: how to make your posts look great without wasting time. While knowing the dimensions is the first step, the real solution is eliminating the manual work altogether. This is precisely what PostOnce was built for.
As a crossposting tool, PostOnce automatically resizes and reformats your content for every platform you post to. You simply upload your image or video once, and the tool ensures it meets the ideal specifications for Instagram's feed, Stories, and Reels—as well as for TikTok, X, Facebook, and others. It removes the guesswork and tedious editing, ensuring your content is always optimized for maximum quality and engagement.
By automating this crucial step, PostOnce directly addresses the user's core need, transforming a frustrating task into a seamless part of your workflow.
Why Getting Instagram Image Sizes Right Matters
It’s tempting to think of Instagram’s image dimensions as just another technical detail to worry about, but they're so much more than that. These numbers are a huge factor in how your content performs, directly impacting everything from its visual punch to how far the algorithm pushes it. Honestly, getting your sizes right is one of the simplest wins you can score for your brand on the platform.
When you upload an image that doesn't quite fit Instagram's preferred aspect ratios, the app takes over. It automatically crops or compresses your visual, and the result is rarely good. You end up with awkward framing, a frustrating loss of sharpness, and a high-quality photo that suddenly looks blurry and unprofessional.
Boost Your Visibility and Engagement
The damage isn't just cosmetic; it changes how both users and the algorithm see your content. Images that are formatted perfectly, especially vertical posts using the 4:5 aspect ratio (1080x1350 pixels), are built to fill up the mobile screen. This extra real estate is a scroll-stopper, naturally holding a user's attention for that crucial extra second.
That extra "dwell time" sends a powerful, positive signal to the Instagram algorithm.
Instagram wants to keep people on the app, so it rewards content that successfully grabs and holds attention. By using the right dimensions, you’re not just making your posts look better—you're playing the algorithm's game to give your content a serious visibility boost.
Create a Superior User Experience
At the end of the day, it all comes down to creating a polished, professional experience for your followers. A feed filled with crisp, perfectly framed images that fit the screen just feels more authoritative and put-together. It shows your audience you sweat the details and care about the quality of what you're sharing.
Here’s a quick breakdown of how proper sizing improves the experience:
- Prevents Awkward Cropping: You can be sure that important parts of your photo or graphic won’t get chopped off.
- Maximizes On-Screen Impact: Vertical images are more immersive and much harder for a user to just scroll past.
- Maintains Visual Quality: Your images will look as sharp and clear as you intended them to be.
This dedication to quality can make a massive difference in how your audience responds. For a closer look at how these tweaks lead to bigger results, check out our guide on how to get more engagement on Instagram. Once you understand the "why" behind the pixels, you can turn a simple technical spec into a real strategic advantage.
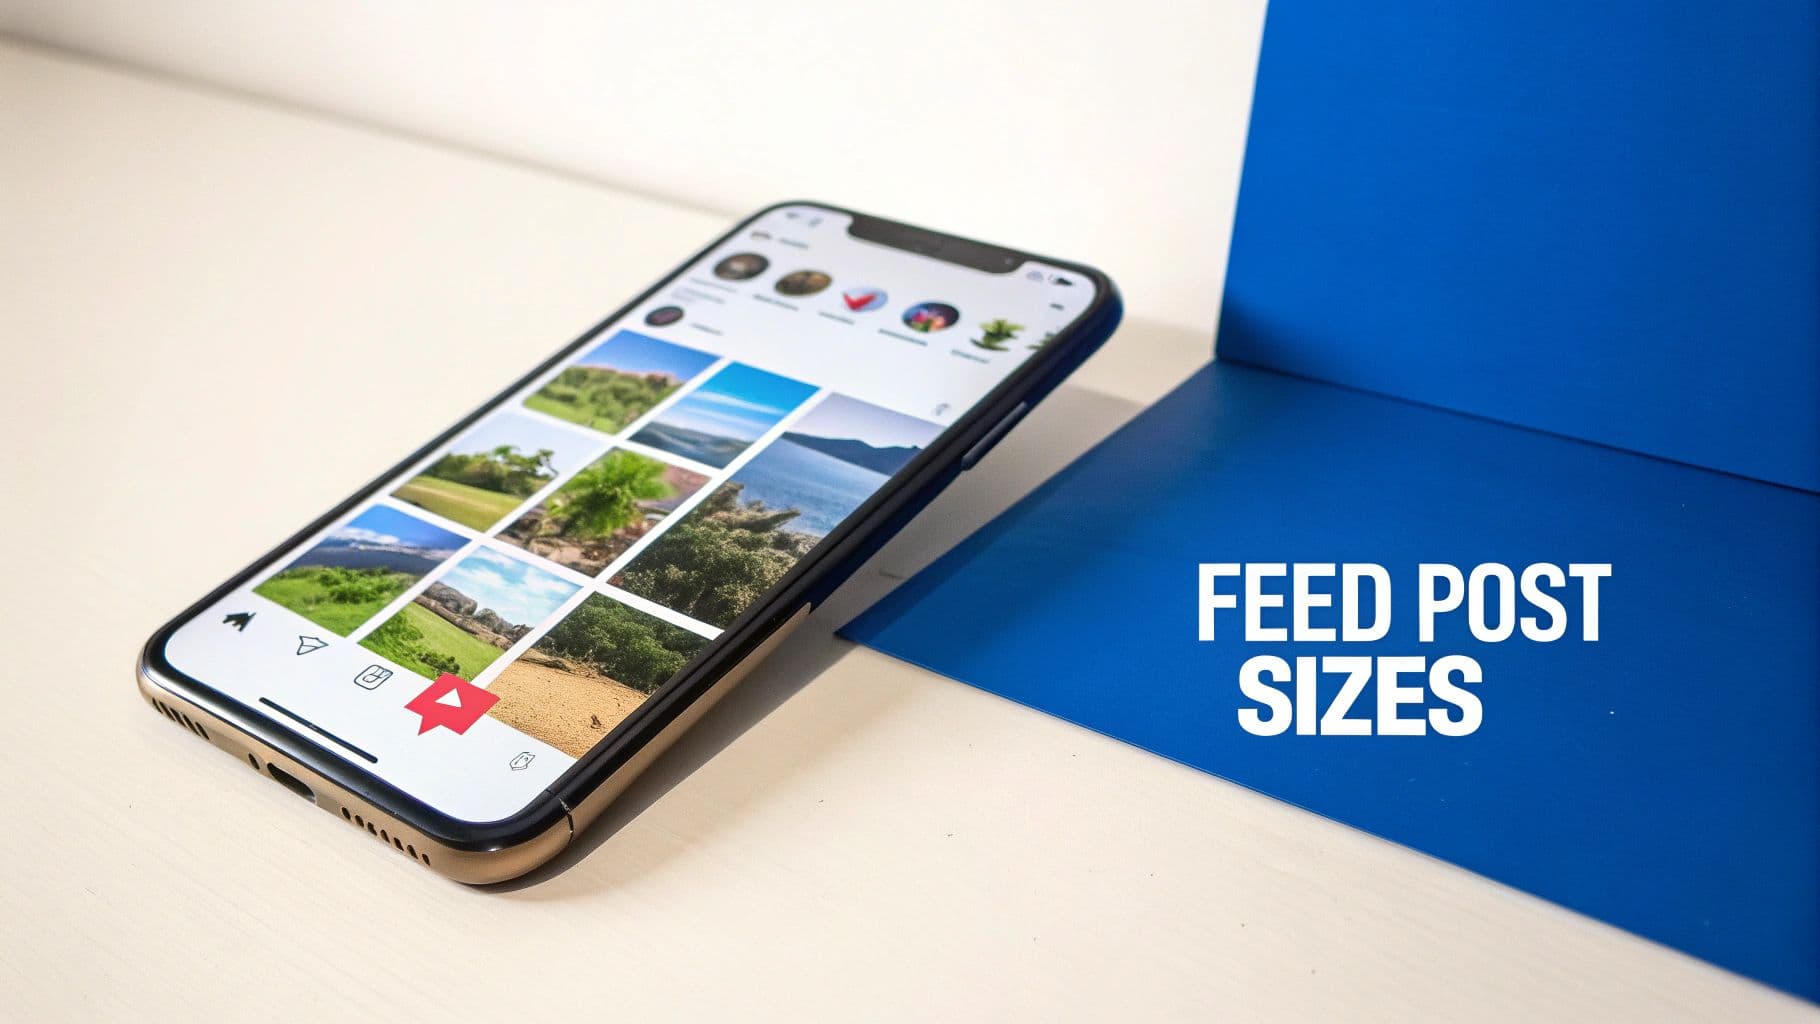
A Detailed Guide to Instagram Feed Post Sizes
Getting your Instagram feed post sizes right is one of the quickest ways to create a polished, high-performing profile. While Instagram built its name on that classic square photo, the platform now gives you three distinct shapes to work with: square, portrait (vertical), and landscape (horizontal).
Each format comes with its own set of dimensions and strategic perks that can seriously affect how people interact with your content. This isn't just about dodging weird, automatic crops; it's about choosing the right canvas to make your photos more immersive, your graphics clearer, and your entire feed feel more intentional.
Let's break down each one so you know exactly what to use and when.
The Classic Square Post (1:1)
The original is still a classic for a reason. The square format is clean, balanced, and incredibly reliable. It’s a go-to for a reason—its symmetrical shape is easy to compose and works well for a massive range of content. You really can't go wrong with it.
- Recommended Dimensions: 1080 x 1080 pixels
- Aspect Ratio: 1:1
- Best For: Product shots, headshots, quotes, and any kind of symmetrical design.
The biggest win for the square post is its consistency. You know it will look great in the main feed and on your profile grid, with no surprises. The only downside? It takes up the least amount of screen space compared to a vertical post.
The Engaging Portrait Post (4:5)
If you're looking for maximum impact, the portrait format is your best bet. This is the one that really grabs attention. By filling more of a phone's vertical screen, it physically stops people from scrolling past your content as quickly. It’s a real scroll-stopper.
- Recommended Dimensions: 1080 x 1350 pixels
- Aspect Ratio: 4:5
- Best For: Fashion photography, detailed infographics, and any visual that needs to feel immersive.
This format's ability to dominate the screen makes it a powerhouse for creators and marketers. The extra real estate gives you more room to tell a story, show off details, and make sure your message lands in a busy feed.
Here's a pro tip: always remember how portrait posts look on your profile grid. Instagram automatically crops the center of your 4:5 image into a 1:1 square for the grid preview. To avoid awkward cutoffs, make sure the most critical parts of your image are centered.
The Cinematic Landscape Post (1.91:1)
While you don't see it as often for everyday posts, the landscape format is perfect for those wide-angle shots that just can't be contained in a square. Think stunning panoramic views, large group photos, or cinematic video clips.
- Recommended Dimensions: 1080 x 566 pixels
- Aspect Ratio: 1.91:1
- Best For: Sweeping scenery, group photos, and wide-format graphics.
When Instagram finally moved beyond its mandatory square format back in 2015, it was a huge deal. Before that, every photo was crunched down to 612 x 612 pixels. This shift allowed photographers and creators to upload much higher-quality images without compromising their original composition, a change that played a big role in the platform's explosive growth.
If you want a foolproof way to nail these dimensions every single time, check out our free Instagram image resizer tool to get your photos perfectly optimized in just a few clicks.
Comparing Instagram Feed Post Formats
To make it even clearer, here’s a simple breakdown of how the three main feed formats stack up against each other. Each one has a specific job, and knowing which to choose can make a huge difference in your content's performance.
| Format Type | Dimensions (Pixels) | Aspect Ratio | Best Use Case |
|---|---|---|---|
| Square | 1080 x 1080 px | 1:1 | Clean, balanced visuals like product shots or quotes |
| Portrait | 1080 x 1350 px | 4:5 | Immersive, attention-grabbing content like portraits |
| Landscape | 1080 x 566 px | 1.91:1 | Wide shots like panoramic scenery or group photos |
Ultimately, choosing between square, portrait, and landscape depends entirely on your specific image and your goal. While portrait posts generally offer the most screen real estate and engagement potential, a stunning landscape photo will always look best in its native wide format.
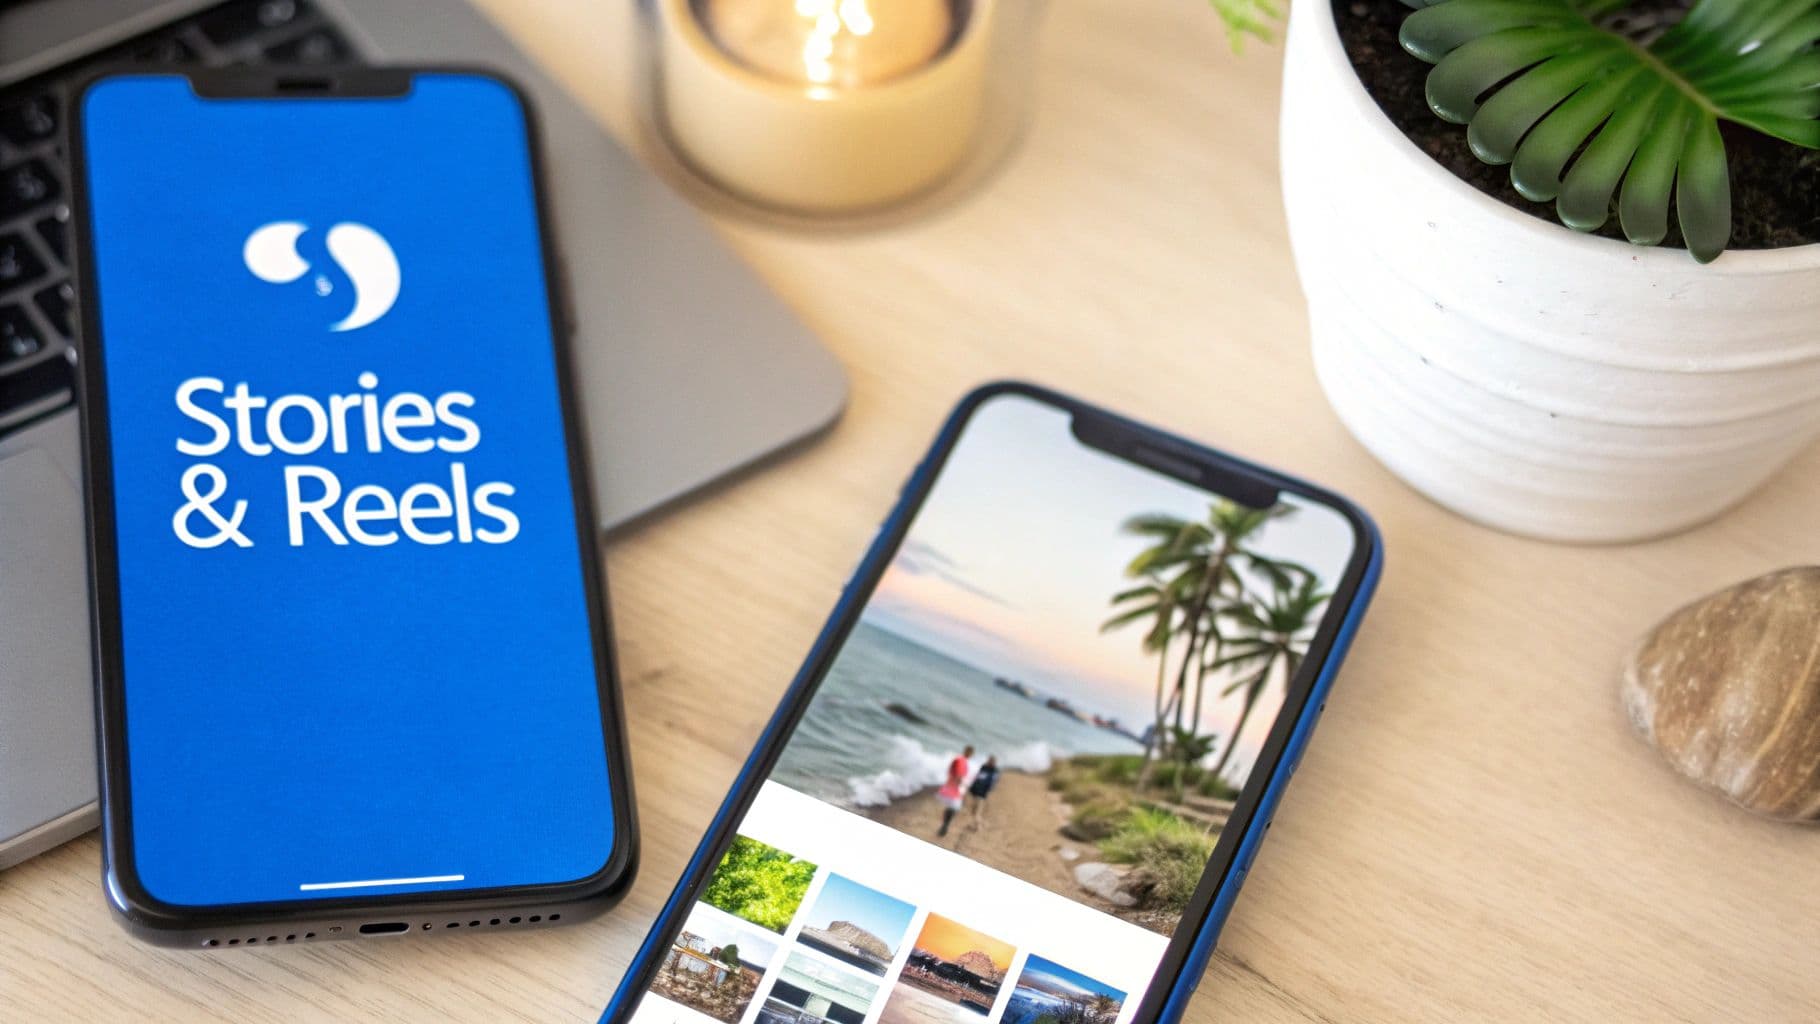
Getting Your Stories and Reels Dimensions Just Right
Vertical video is the lifeblood of Instagram today. To create that immersive, full-screen experience that pulls viewers in, both your Stories and Reels need to hit the exact same dimensions: 1080 x 1920 pixels.
This translates to a 9:16 aspect ratio, and honestly, it's not something you can afford to get wrong. If you upload content that doesn't fit, Instagram’s algorithm will make a choice for you—either it zooms in and crops your work (goodbye, important details!), or it slaps on clunky black bars to fill the space. Either way, it immediately looks unprofessional and tanks the viewing experience.
Ever since Stories launched back in 2016, this 9:16 format has completely changed how we use the app. The wild success of both Stories and Reels is proof that people love this full-screen, fast-paced content. It’s no surprise that in some of the biggest markets, these formats account for 70% of all time spent on Instagram. For brands who nail the format, the payoff is real—some have reported conversion bumps of 15-20%.
Staying Inside the "Safe Zones"
Here's a crucial detail many people miss: just because your canvas is 1080x1920 pixels doesn't mean the whole area is visible. Instagram overlays its own interface elements right on top of your content—your profile picture, the comment box, like/share buttons, and so on. If you place your logo or key text in those spots, it's going to get covered up.
This is why understanding the "safe zones" is so important. Think of it as the central part of your screen that is always 100% visible, no matter what.
- Top Safe Zone: Keep your important elements out of the top 250 pixels or so. This is where your profile info and other icons live.
- Bottom Safe Zone: Similarly, leave about 250 pixels of buffer at the bottom to avoid clashing with captions, comment fields, and engagement buttons.
By keeping your most critical content—text, calls-to-action, stickers, or product shots—within this central sweet spot, you guarantee your message gets through loud and clear. The pro move is to design for the full 1080x1920 canvas to keep things immersive, but strategically place your core message in the middle.
For a more detailed breakdown, we’ve got a whole guide on the topic right here: https://postonce.to/blog/instagram-stories-dimensions
A Few Practical Design Tips for Stories and Reels
Getting the dimensions right is the first step, but a few simple design choices can make your vertical content so much more powerful.
- Assume the Sound is Off: A huge number of people scroll through Reels and Stories on mute. Always use on-screen text or captions to ensure your story makes sense without audio.
- Have a Strong Focal Point: You have literally a second or two to grab someone's attention. A clear, compelling visual focal point will stop them from swiping past.
- Lean into Native Features: Use Instagram’s own tools! Polls, quizzes, question boxes, and stickers aren't just for fun; they are built to drive interaction, which the algorithm loves.
If you really want to get your video content looking polished, this excellent Instagram Reels format guide is a fantastic resource for diving deeper.
Optimizing All Other Instagram Image Formats
While the main feed, Stories, and Reels get most of the glory, a truly professional Instagram presence comes down to the details. Getting these other formats right is what separates a polished profile from an amateur one. We're talking about your profile photo, carousels, and Reels cover images—each has its own quirky rules that can trip you up.
Your Instagram Profile Photo
Think of your profile picture as your digital handshake. It’s the one image that represents you or your brand everywhere on the platform, from your main page to every single comment you post.
For your profile photo, you’ll want to upload a 320 x 320 pixel image. This is a perfect 1:1 square. But here's the catch: Instagram will display it as a circle. Because of this, you absolutely must keep the essential part of your image—your face or your logo—smack in the center. Leave plenty of breathing room around the edges so nothing important gets awkwardly cut off.
Rules for Flawless Carousel Posts
Carousel posts are fantastic for telling a deeper story or showing off a product line. The golden rule here is simple: consistency. Instagram forces the aspect ratio of the entire carousel to match whatever you choose for the very first slide.
So, if your first image is a 1:1 square, every other photo and video in that carousel will be cropped to match. Mixing and matching sizes is a recipe for disaster, leading to clumsy, automatic crops that ruin your visuals. For a clean, seamless swipe-through experience, make sure every slide has the exact same dimensions.
- Square Carousels: Stick to 1080 x 1080 pixels for all slides.
- Portrait Carousels: Use 1080 x 1350 pixels for all slides.
- Landscape Carousels: Keep it at 1080 x 566 pixels for all slides.
The Critical Reels Cover Photo
The cover photo for your Reel is what everyone sees on your main profile grid. It's your one shot to make your video content look like it belongs with the rest of your feed's aesthetic.
While the Reel itself is a full-screen vertical video (1080 x 1920 pixels, a 9:16 ratio), the cover image that appears on your grid gets cropped down to a 1:1 square.
When you’re designing that cover, be sure to place the most important visuals right in the center. This little bit of foresight ensures that even after Instagram crops it for the grid, your thumbnail still looks compelling and perfectly framed. Ignoring this can leave your grid looking chaotic, with key information or visuals chopped off. A few seconds of planning here makes a world of difference.
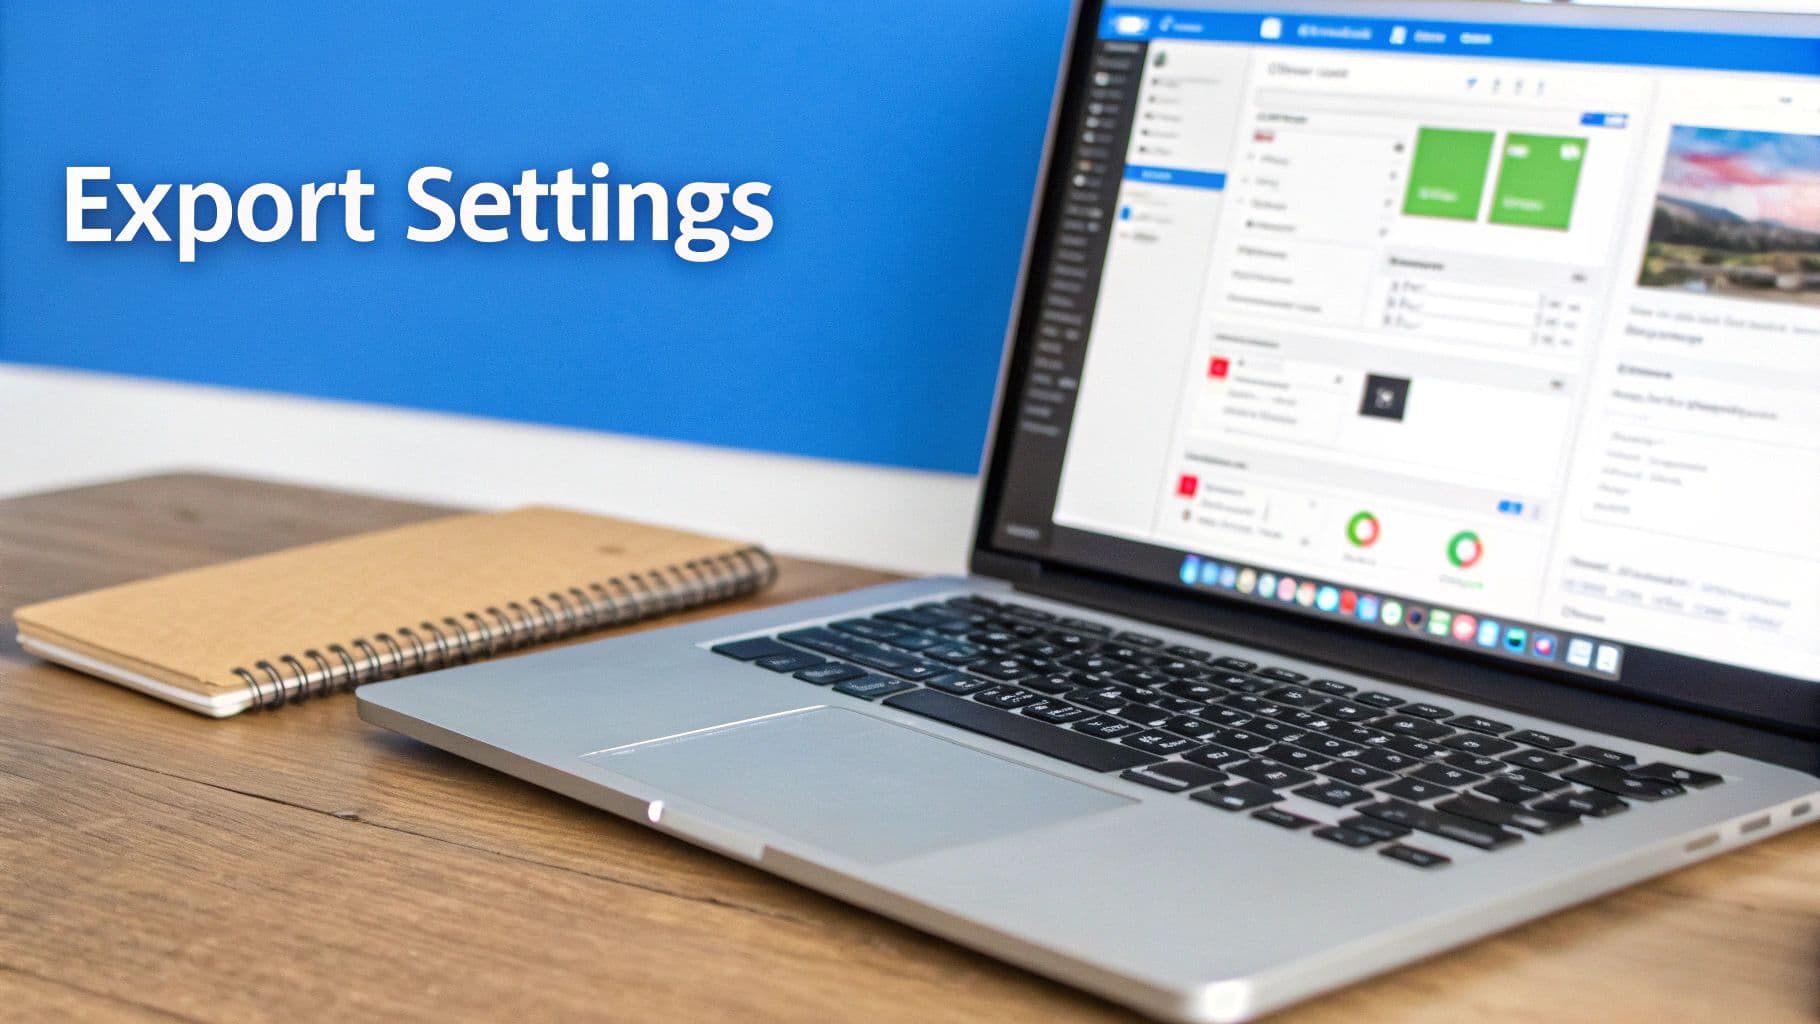
Technical Best Practices for Image Exporting
Getting your image dimensions right is only half the battle. How you actually export the file from your editor is what truly determines its final quality once it hits the feed. Instagram is going to compress everything you upload, so giving it a clean, optimized file is your best defense against dreaded pixelation and weird color shifts.
Think of it this way: when you nail your export settings, you’re giving Instagram’s algorithm less work to do. That means your images will look just as sharp and vibrant on the app as they did on your screen.
Choosing the Right File Format and Settings
The first fork in the road is deciding between JPEG and PNG, and it's a simple choice once you know the rules.
For most photos, JPEG is your go-to. It strikes the perfect balance between quality and file size, which helps your content load faster for your audience. But if you're working with graphics that have sharp lines, text, or a transparent background—like a logo or an infographic—you'll want to use PNG. It’s much better at preserving those crisp details without the fuzzy artifacts you'd get from a JPEG.
Once you've picked your format, you need to dial in these key settings:
- File Format: Use JPEG for photos. Use PNG for graphics with text, logos, or transparent backgrounds.
- Color Space: Always, always export in sRGB. It's the universal standard for web and mobile screens. If you use a different profile, like Adobe RGB, you’ll see your colors look dull or completely off once you upload.
- Compression/Quality: For JPEGs, I've found the sweet spot is a quality setting between 75-85%. This shrinks the file size down considerably without any noticeable loss in quality, which helps minimize Instagram's own heavy-handed compression.
These settings aren't just minor suggestions; they're the bedrock of high-quality visuals on the platform. Getting your export right gives you control over how Instagram processes your image, ensuring a professional look every time.
If you’re a Adobe Lightroom user, it’s worth diving deeper into the optimal export settings for Instagram to make sure you’re getting the absolute best results from your edits.
Understanding Instagram's Evolution and Impact
It's wild to think about how much the platform has changed. Instagram launched with a strict 612 x 612 pixel square format. That was it. As phone screens got bigger and better, Instagram had to adapt, eventually expanding to support images up to 1080 pixels wide.
Fast-forward to today, with its 2 billion monthly active users, and you have formats like the 1080 x 1350 pixel portrait post that dominates the feed. Sticking to optimal sizes like 1080 x 1080 for squares or 1080 x 566 for landscapes is non-negotiable if you want your posts to look crisp. In fact, we've seen that posts using ideal dimensions can get up to 20-30% higher engagement in major markets like the US.
These technical details are just as critical for video. If you want to make sure your video content looks its best, check out our guide on the best https://postonce.to/blog/format-for-instagram-video.
Got Questions About Instagram Image Sizes? Let's Clear Things Up.
Even after you've got the basics down, the nuances of Instagram's image requirements can still throw you a curveball. From unexpected cropping to fuzzy-looking uploads, there are a few common hangups that trip up even seasoned creators. Here are some straightforward answers to the questions we hear most often.
What Happens If I Just Upload the Wrong Size?
Uploading an image with an unsupported aspect ratio is one of those mistakes you only make a few times. Instagram will immediately force you to crop it, and more often than not, you'll end up slicing off a vital part of your photo or graphic. The composition you worked so hard on can get completely butchered in a single click.
It's not just about cropping, though. If your image is too large—say, wider than the recommended 1080 pixels—Instagram's aggressive compression algorithm kicks in. That super-sharp image you exported suddenly looks soft, blotchy, or pixelated.
On the flip side, uploading an image that's too small (anything under 320 pixels wide) forces Instagram to stretch it. The result is a blurry, unprofessional mess. Long story short, sticking to the right specs is your best defense against all these problems.
Does Instagram Ruin Image Quality?
Technically, yes. Instagram compresses every single image that gets uploaded. It has to—with billions of users, the platform needs to keep file sizes down so the app loads quickly. You can't avoid compression entirely, but you can absolutely minimize the damage it does.
Think of it as giving Instagram's algorithm less work to do. By getting your export settings right, you can preserve a surprising amount of detail. Here’s how:
- Always start with a high-resolution source file. You can't add quality that isn't there.
- Export at the correct width, which is 1080 pixels for feed posts.
- Match the recommended aspect ratio for your post type.
- Make sure you're using the sRGB color profile to avoid weird color shifts after uploading.
When you feed Instagram an already-optimized image, its software has fewer drastic adjustments to make, which means your final post looks much cleaner and closer to your original edit.
Which Image Size Gets the Best Engagement?
When we're talking about the main feed, the data is pretty clear: the vertical (portrait) format with a 4:5 aspect ratio (1080 x 1350 pixels) consistently comes out on top. The logic is simple—it takes up the most screen real estate on a phone.
That extra vertical space makes your content a natural scroll-stopper, grabbing a user's attention for that crucial extra second. For pure, immersive engagement, however, nothing beats the full-screen vertical formats of Stories and Reels (1080 x 1920 pixels). They were designed from the ground up to be captivating.
Do All My Carousel Slides Need to Be the Same Size?
Yes, this is a non-negotiable rule for a clean-looking carousel. Instagram sets the aspect ratio for the entire post based on the very first image or video you select. If that first slide is a 1:1 square, every single slide that follows will be cropped into a square, too.
If you try to mix and match different sizes, you'll get awkward automatic cropping and cut-off content on slides two, three, and beyond. To create a seamless and professional experience, make sure every asset in your carousel has the exact same dimensions. Whether you go with square (1:1), portrait (4:5), or landscape (1.91:1), consistency is everything.
Managing all these different sizes, especially when posting to multiple platforms, can quickly become overwhelming. This is a major reason why creators and social media managers turn to automation to handle the tedious work of reformatting.
Manually resizing every image for every platform is a huge time-sink and it's easy to make mistakes. PostOnce is built to solve this problem by automatically optimizing your content for each social network. When you crosspost to Instagram, it ensures your images meet the exact size requirements for the feed, Stories, and Reels, guaranteeing a perfect, professional look every single time without any manual effort. Find out more about how to automate your social media workflow.