Using YouTube content on Instagram can significantly increase your audience reach. There are two effective methods to achieve this: an automated approach using PostOnce and a manual editing process.
Recommended Solution: Using PostOnce
-
Sign Up for PostOnce: Begin by creating an account on PostOnce.
-
Connect Your Accounts: Link your YouTube and Instagram accounts to the PostOnce platform.
-
Set Up the Workflow: Configure the automated process to cross-post your videos from YouTube to Instagram.
-
Post Normally: Once the workflow is set, simply upload your videos to YouTube, and they will be automatically shared on Instagram.
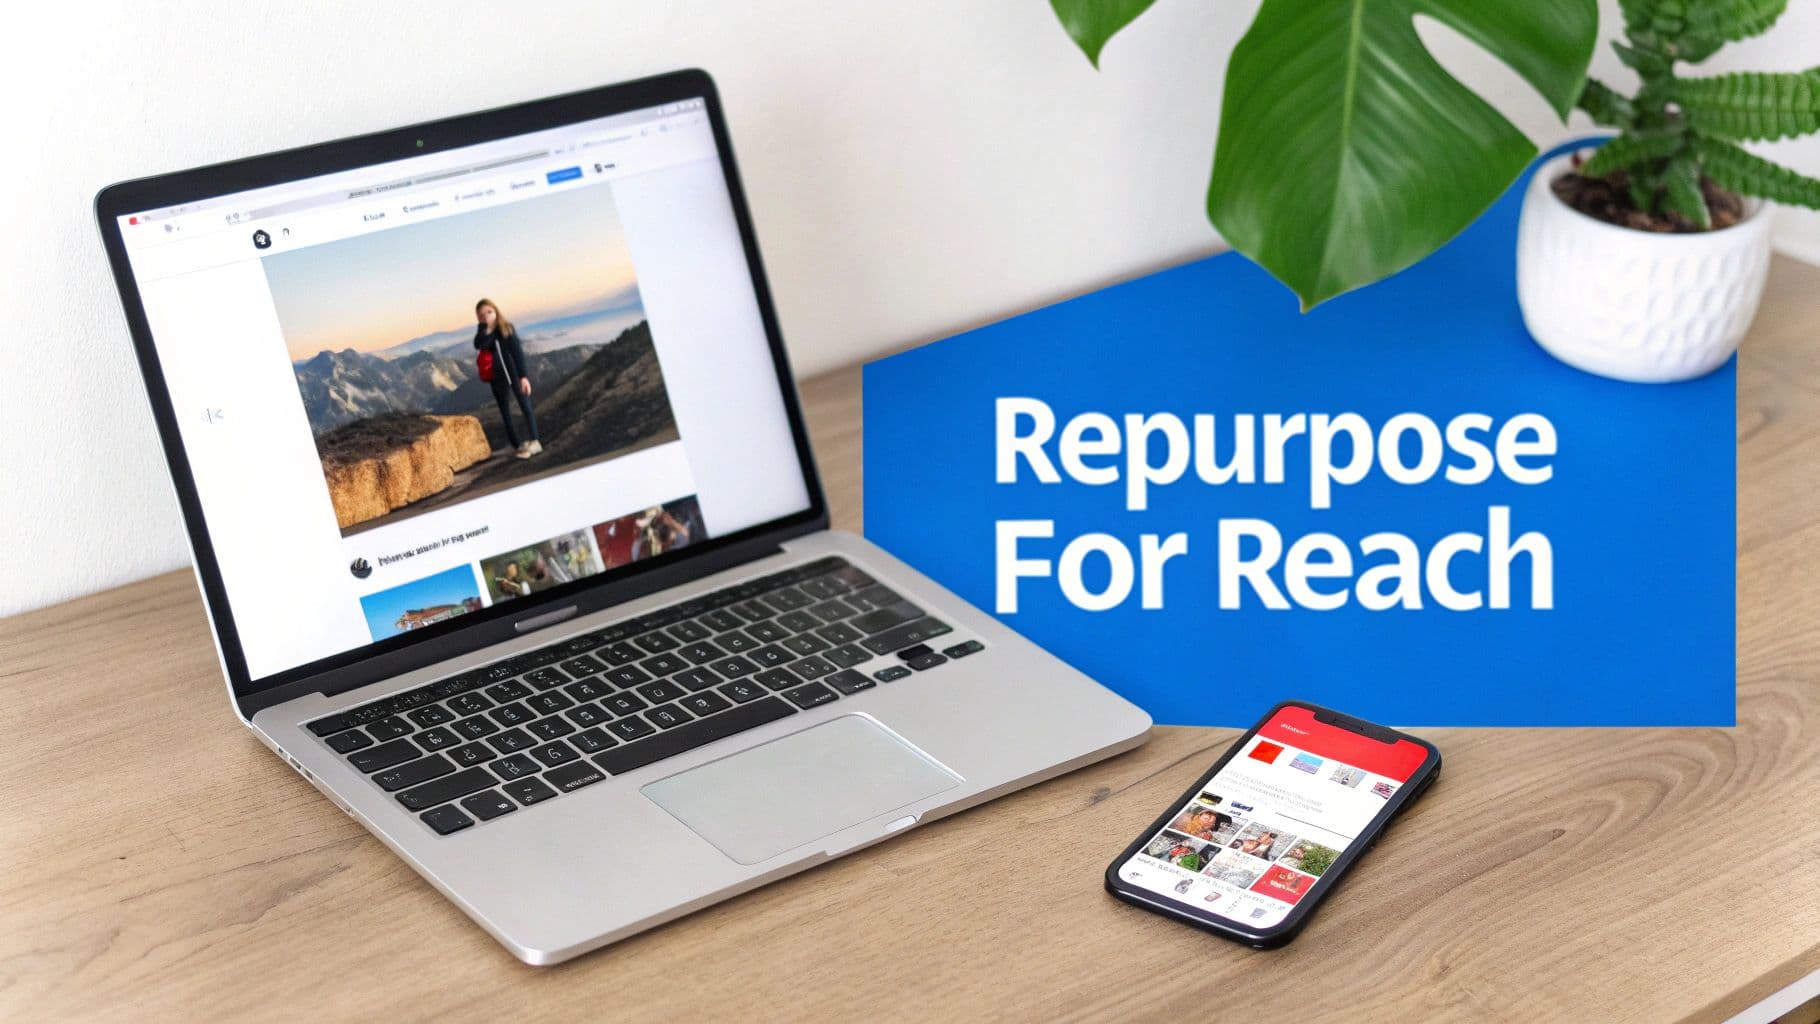
Why Bother Repurposing YouTube Videos for Instagram?
Look, sharing your YouTube content on Instagram is way more than just filling a slot in your content calendar. It’s a calculated move to tap into an enormous audience that practically lives on video. Instagram has gone all-in on video, and that shift is a golden ticket for YouTubers looking to blow up their reach and build their brand.
This is all about working smarter. Instead of letting a great video collect dust on YouTube, you can breathe new life into it on Instagram. Doing this helps you in a few key ways:
-
Find New Eyeballs: You’ll connect with people who might never stumble upon your YouTube channel.
-
Get More Bang for Your Buck: Squeeze every last drop of value and engagement out of a single video.
-
Build a Stronger Brand: Create a consistent vibe and presence across the platforms that matter.
-
Funnel Traffic Back: Cleverly steer your Instagram followers to your YouTube channel for the full-length stuff.
You're Fishing in the Same Pond
The connection between YouTube and Instagram is crystal clear—your audience is almost certainly hanging out on both. This overlap is what makes cross-posting so ridiculously effective.
An almost unbelievable 76.9% of Instagram users are also on YouTube. That’s a massive shared audience just waiting for you. And if you need more convincing, Meta’s own data shows that Reels now make up over 50% of the time people spend on Instagram. The platform is screaming for video.
This chart really drives the point home, showing just how much audiences overlap across the big social networks.
The numbers don't lie. Your YouTube subscribers are very likely the same people scrolling through Instagram Reels right now. It just makes sense to meet them there with content they'll recognize and love.
Repurposing isn't just a time-saver; it’s an amplifier for your message. When you adapt your best content for different platforms, you're meeting your audience where they are and on their terms. That's how you build real connection and drive engagement.
A Foundational Growth Strategy
At the end of the day, figuring out how to post YouTube videos on Instagram isn't just a neat little trick. It's a core piece of any modern content strategy. To really see the big picture, it’s worth diving into broader content repurposing strategies to see how you can maximize your impact.
And if you want to make this process almost effortless, you can even automate your cross-posting with tools like PostOnce. Check out how to get that set up here: https://postonce.to/crosspost. This isn’t just a tactic—it's a must-do for any creator serious about growing their brand today.
Getting Your Video Ready for the Instagram Grid
Let's be real: you can't just rip a video from YouTube and throw it onto Instagram expecting great results. The platforms are built differently and speak completely different visual languages. Taking a few minutes to prep your file is what separates a pro-level post from one that looks lazy and gets scrolled past.
The single biggest mistake I see creators make is completely ignoring the aspect ratio. Your YouTube video is almost certainly a wide, horizontal 16:9 format, perfect for a laptop or TV. But on Instagram, which is all about the phone in your hand, that wide video gets squished between huge, ugly black bars. It screams "repost" and kills engagement.
Match the Shape to the Space
To make your content look like it belongs on Instagram, you have to format it for the specific place you're posting it. Instagram has a few different video environments, and each one has its own ideal shape.
-
For Reels and Stories: This is non-negotiable. You need a vertical, full-screen video with a 9:16 aspect ratio. This is the only way to fill the entire phone screen and create that immersive, "thumb-stopping" experience you're after.
-
For Feed Posts: You've got a bit more wiggle room here. A vertical 4:5 ratio is a great option, but I often find that a classic square 1:1 video performs best. It simply takes up more of the screen as someone scrolls, making it harder to miss.
Resizing a video might sound like a huge technical hurdle, but it's gotten much easier. Most modern video editors have simple presets for this. If you're working with a still image, like for a custom thumbnail or promo graphic, a quick online Instagram image resizer can get the dimensions perfect in seconds.
Think of it like this: Posting a horizontal YouTube video to Instagram Reels is like trying to fit a square peg in a round hole. Sure, it might technically fit, but it looks awkward and out of place. It tells your audience this content wasn't made for them.
To make things easier, here's a quick cheat sheet for the most important specs.
Instagram Video Requirements at a Glance
This table breaks down the essential technical specs you'll need to format your YouTube clips for each key placement on Instagram.
| Instagram Placement | Aspect Ratio | Max Length | Recommended Resolution |
|---|---|---|---|
| Instagram Reels | 9:16 | 90 seconds | 1080 x 1920 pixels |
| Instagram Story | 9:16 | 60 seconds | 1080 x 1920 pixels |
| Instagram Feed | 1:1 or 4:5 | 60 minutes | 1080 x 1080 or 1080 x 1350 pixels |
Getting these settings right from the start saves a ton of headaches and ensures your video looks sharp and professional when you post it.
Trim for Tiny Attention Spans
Once your video is the right shape, you have to think about its length. Instagram users are scrolling fast. That 15-minute deep dive you posted on YouTube isn't going to fly here. Your mission is to find the single most valuable, exciting, or hilarious snippet.
Keep these hard limits in mind:
-
Instagram Reels: Up to 90 seconds.
-
Instagram Stories: Up to 60 seconds per individual Story clip.
-
Instagram Feed Videos: Up to 60 minutes, but let's be honest, engagement absolutely plummets after the first 60 seconds.
You're not trying to post the whole video. You're creating a teaser. Find a powerful "hook" within the first three seconds—a shocking statement, a funny moment, or a key takeaway—that makes someone stop and listen. This is the core of learning how to post YouTube videos on Instagram the right way. You're essentially creating a commercial for your long-form content.
Finally, a quick technical note. When you export your trimmed and resized clip, make sure it's in a format Instagram can easily handle. The gold standard is an .MP4 file using the H.264 codec. This combo gives you great quality without a massive file size, ensuring your video plays back smoothly for everyone.
Getting Your Video onto Instagram: Mobile vs. Desktop
Alright, you've done the hard work. Your video is resized, trimmed, and ready for its Instagram debut. Now for the final step: publishing it. Whether you're all about the speed of posting from your phone or prefer the control of a desktop setup, I’ll walk you through both workflows.
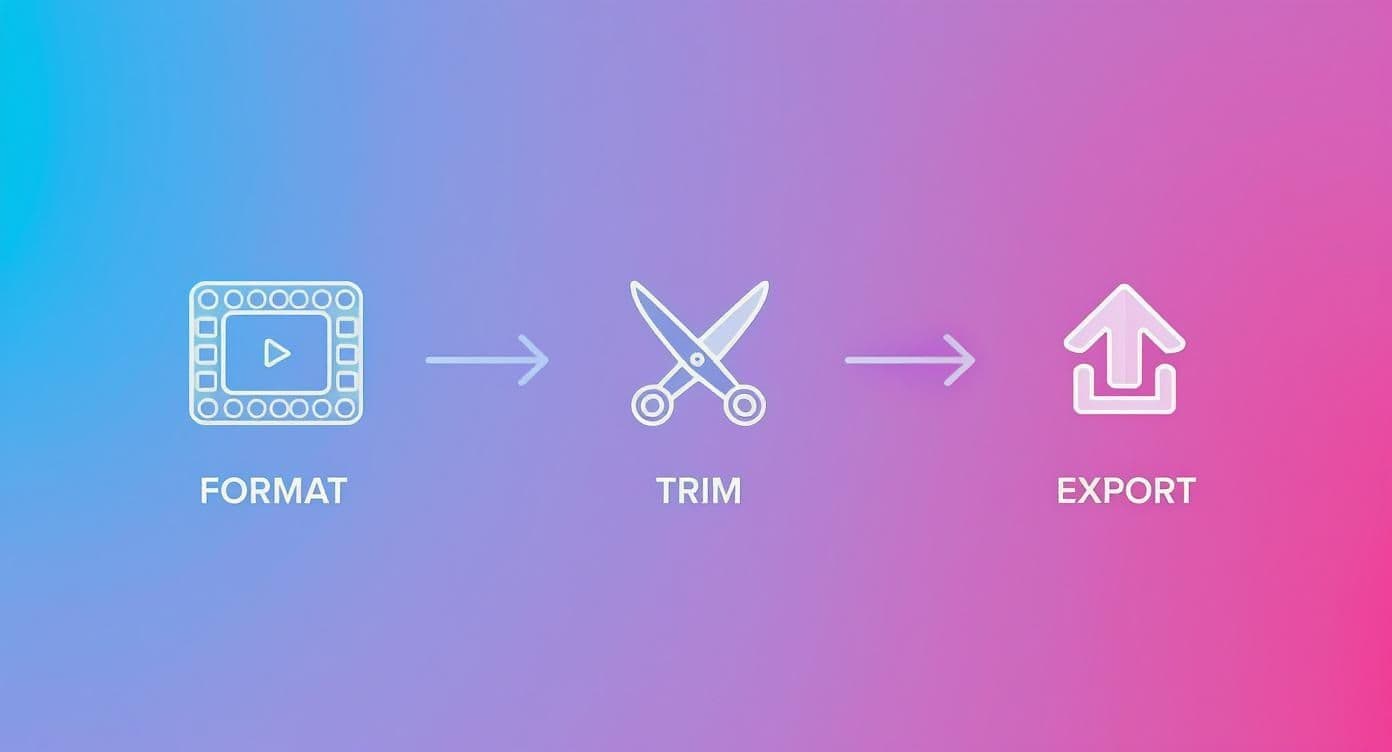
As you can see, the real secret to a great post happens before you even open the Instagram app. Getting the formatting and trimming right is everything.
The Mobile-First Method: Your Go-To for Quick Posts
For most of us, posting right from our phone is just faster and more intuitive. The Instagram app is built for mobile, so you get all the native bells and whistles—trending audio, interactive stickers, and the latest filters—right at your fingertips.
First things first, you need to get that edited video file from your computer to your phone. My advice? Always use the original, high-quality video file to avoid any compression weirdness.
Transferring it over is simple:
-
AirDrop is my personal favorite for zipping files between Apple devices. It’s seamless.
-
Google Drive or Dropbox are fantastic cloud options that work on any device.
-
A classic USB cable connection is a reliable, old-school alternative if you prefer a direct link.
Once the video is saved to your phone's camera roll, you’re golden. Just open Instagram, tap the “+” icon, pick your clip, and start writing your caption. This method is especially great for Reels, where jumping on a trend quickly can make all the difference.
The Desktop Workflow: Power and Precision
While mobile is great for on-the-fly posts, working from a desktop gives you a level of control that's hard to beat. This is especially true for social media managers or creators who are managing content across multiple platforms.
Let’s be honest, cross-posting isn't just a tactic anymore; it's a core part of a solid social media strategy. Most creators handle this by either using a platform's built-in sharing features, manually posting to each network (which often gives better algorithmic results), or using a scheduler like Meta Business Suite. The key is to avoid just dumping a YouTube video onto Instagram without respecting its native format—that’s a recipe for poor quality and low engagement.
Here are the two main ways to post from your desktop:
-
Direct Upload via Instagram.com: You can now upload videos directly through the Instagram website. Just log in, hit the "Create" button, and drag your file in. It’s a solid option for feed posts, but you'll miss out on some of the creative tools for Reels that are only available in the mobile app.
-
Meta Business Suite for Scheduling: If you’re a planner, the Meta Business Suite is your best friend. It lets you upload a video and schedule it to go live across both Instagram and Facebook whenever you want. This "set it and forget it" approach is a lifesaver for keeping your content calendar full without having to post manually every single day.
Key Takeaway: The right workflow really depends on your goal. Mobile is perfect for spontaneous, trend-driven Reels. Desktop offers more precision for high-quality, scheduled feed content that keeps your audience coming back for more.
For those who want to take their content management to the next level, third-party tools can be a game-changer. Platforms like postbae's platform provide advanced scheduling and management features that can seriously cut down on your workload. By getting comfortable with both mobile and desktop posting, you'll have the flexibility to share your YouTube content on Instagram effectively, no matter what your day looks like.
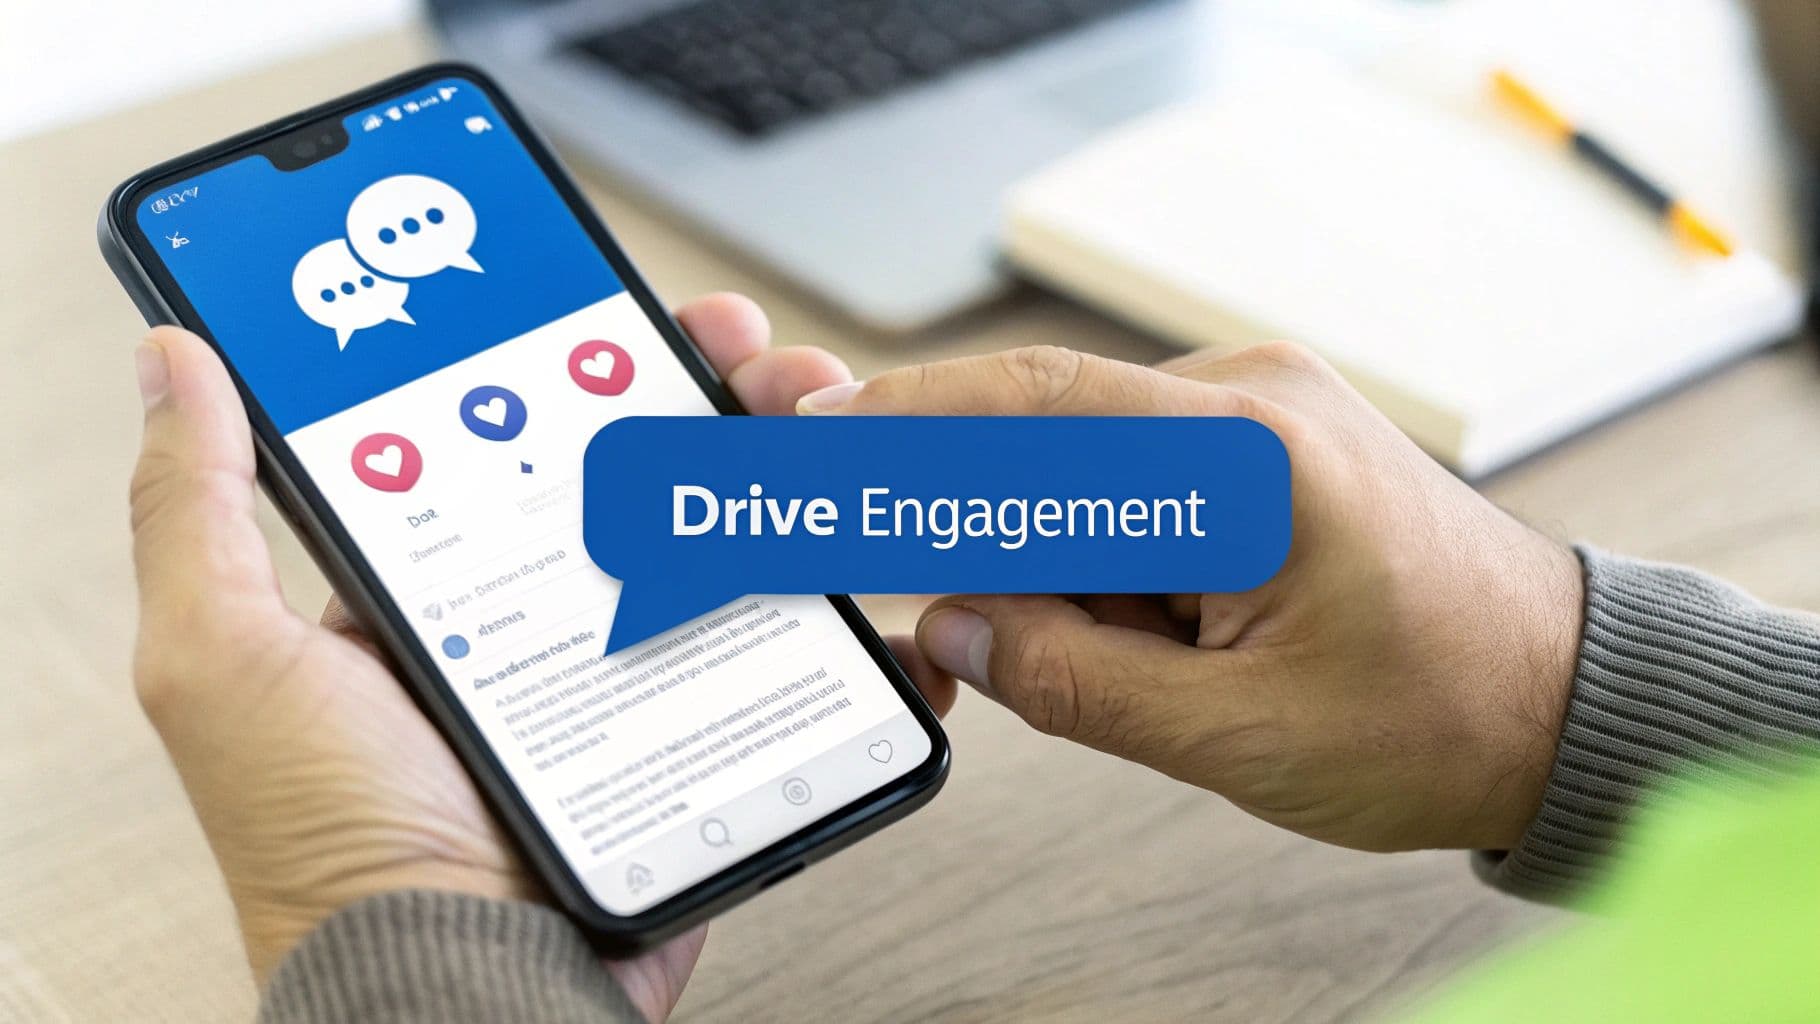
Crafting a Post That Drives Real Engagement
Alright, you've trimmed your video and it looks great. But just hitting "post" is only half the job. If you want to actually get people to stop scrolling, watch, and interact when you post YouTube videos on Instagram, you need to think beyond the video itself. It's all about what surrounds it—the caption, the cover image, and your strategy for getting it seen.
Let's start with your caption. Think of that first line as your headline. It’s got one job: stop the thumb. Don't just explain what's in the video. Instead, ask a challenging question, drop a surprising stat from your video, or state a bold opinion that makes people curious. That initial hook buys you the next few seconds of their attention.
Once you have them, your goal is to get a response. End your caption with a direct, easy-to-answer question. Instead of a vague "What do you think?", try something specific like, "What's the #1 mistake you see people make with this?" The lower the barrier to comment, the higher your engagement will be.
Nail Your Hashtag Strategy
Hashtags are how new people find you, but most creators get them wrong. Slapping on huge tags like #video or #youtube is a waste of time; your content will get buried in a matter of seconds. A much better approach is to layer your hashtags.
Here's a simple framework that works:
-
Broad Tags (1-2): These are the high-volume keywords for your industry (e.g.,
#contentcreator,#techreview). Use them for a quick burst of initial reach. -
Niche Tags (3-5): Get specific here. Think about what a potential superfan would actually search for (e.g.,
#cameragearforbeginners,#finalcutprotips). This is where you find your people. -
Branded Tags (1): Always include a unique tag for your channel or series (e.g.,
#YourChannelNameTips). It’s a great way to build community and let followers easily find all your related content.
This blended strategy gives you the best of both worlds—broad visibility and a direct connection with a highly engaged, relevant audience.
Design a Compelling Call to Action
At the end of the day, you probably want to send people back to YouTube to watch the full video. You have to be incredibly clear about what you want them to do next. Since you can't drop clickable links in Instagram captions, you need a direct and forceful call-to-action (CTA).
Your CTA is the bridge between your Instagram teaser and your YouTube channel. A weak or missing CTA means you're leaving views, subscribers, and potential revenue on the table.
Tell them exactly what the next step is: "Watch the full breakdown on our YouTube channel! Link in bio." You can even pin a comment with your YouTube channel name to make it even easier. The name of the game is removing friction.
This is especially critical for Reels, which have an incredible average engagement rate of 1.22%—way higher than other post types. With so many Instagram users in the 18-34 age range, you're hitting a demographic that lives on video content. You can dig deeper into the latest social media engagement statistics and trends to see just how big the opportunity is.
Finally, don't sleep on your cover image. Even with autoplay, a sharp, eye-catching thumbnail makes your video stand out on the Explore page and in crowded feeds. Use bold text, a compelling still from the video, and consistent branding so your content is instantly recognizable. If you're ever stuck on the words, a good Instagram caption generator can be a lifesaver for brainstorming hooks that grab attention.
Understanding Copyright and Who Owns What
Before we even think about moving a video from YouTube to Instagram, we have to talk about something that gets a lot of people in trouble: content ownership. There's one simple, unbreakable rule here: you can only post content you own.
It sounds obvious, I know. But it’s a critical detail that trips up even experienced creators, putting their accounts at risk of copyright strikes, content removal, or worse, a permanent ban.
The second you upload a video that isn't yours—even if it's just a few seconds—you’re rolling the dice. Instagram's copyright detection systems are incredibly sophisticated and don't care about excuses. The only truly safe path is to stick to video you’ve shot and created yourself.
The Music Rights Trap
Here’s where most people get burned: music. You might assume that because you licensed a song for your YouTube video, you’re clear to use it everywhere else. That's a huge and costly mistake.
A license you buy for a track on a platform like Epidemic Sound is almost always tied specifically to your YouTube channel. The moment you upload that same video to Instagram, their system will probably flag it for copyright infringement because that license doesn't carry over. Your video could get muted on the spot or taken down entirely.
The safest play here is to strip the original audio from your video before you upload it to Instagram. Then, just add a new track directly from Instagram’s official music library while you're creating your post. It’s the only guaranteed way to stay in the clear.
How to Stay Compliant and Protect Your Account
Getting copyright right isn't just about dodging penalties; it's about being a professional. Always operate under the assumption that you have zero rights to use anything that isn't 100% yours. That goes for video clips, images, and especially music.
To keep your account safe and sound, just follow these simple guidelines:
-
Use Your Own Footage: It all comes down to this. If you filmed it, you can post it.
-
Use Instagram’s Music Library: When making Reels and Stories, always grab your audio from Instagram’s built-in selection. That music is already licensed for you to use on the platform.
-
Scrub Problematic Audio: If you’re not sure about a song or sound effect, open your video editor and just remove it before you post.
Making content ownership a priority from the start makes your entire workflow sustainable. It protects the hard work you’ve put into building your brand on both YouTube and Instagram.
Answering Your Top YouTube-to-Instagram Questions
Even when you know the ropes, turning a YouTube video into a great Instagram post can bring up some tricky questions. Let's walk through the common snags I see creators hit all the time. Getting these details right from the start will save you a world of frustration.
How Long Can My Instagram Video Be?
This is probably the number one question I get. Can you just drop your 10-minute YouTube deep-dive onto your Instagram feed? The short answer is no, and honestly, you wouldn't want to.
Instagram is all about quick, punchy content. While you can technically upload a video up to 60 minutes long to your main feed, the audience just isn't there for it. You have to think in much shorter terms.
-
Reels: The sweet spot. You have a maximum of 90 seconds to grab attention.
-
Stories: Even shorter. Each clip maxes out at 60 seconds.
Your goal isn't to cram the entire video onto Instagram. Instead, think of it as creating a killer trailer that gets people so intrigued they just have to check out the full version on your channel.
How Do I Get My Video File?
Another common roadblock is simply getting the video off of YouTube. It seems like it should be easy, right?
The only method you should ever use is downloading the original file directly from your own YouTube Studio. Just head to the "Content" tab, find the video, click the three-dot menu, and hit "Download." This ensures you have the highest quality version to work with.
Steer clear of those third-party YouTube downloader sites. They often compress your video into a pixelated mess and can get you into hot water with YouTube's terms of service. It’s just not worth the risk. Always start with your master file.
A Quick Warning on Music: This is the biggest legal trap out there. Just because you have a license to use a song on YouTube doesn't mean that license carries over to Instagram. In fact, it almost never does. To stay safe, strip the original audio and replace it with a trending track from Instagram’s own music library. This will keep your video from getting muted or taken down.
Can't I Just Share It Directly?
It would be amazing if there were a "share to Instagram" button right on YouTube, but unfortunately, there isn't one. The platforms are direct competitors, so they don't exactly play nice with each other.
There's no shortcut here. You have to manually download your video, re-edit it for the vertical format, and then upload it directly to Instagram. It’s a hands-on process, but it’s crucial for making content that actually looks and feels like it belongs there.
Tired of the endless cycle of downloading, reformatting, and uploading? PostOnce lets you create your content one time and automatically posts it everywhere, perfectly optimized for each network. Give PostOnce a try and reclaim your creative time.