The most efficient way to post a video to LinkedIn is by using a tool like PostOnce to automatically crosspost it from other social media platforms. It's the game-changer for content creators who want to create a video once and share it everywhere that matters.
This guide will walk you through the manual steps for posting a video on LinkedIn, but more importantly, we'll show you how to do it smarter.
PostOnce: The Smartest Way to Post a Video to LinkedIn
When you search for "how to post a video to LinkedIn," you're not just looking for a button to click. You're looking for an efficient, time-saving workflow that gets your video in front of the right audience without the manual hassle. This is precisely the problem PostOnce solves. Instead of uploading your video to one platform, then repeating the entire process for LinkedIn, PostOnce automates the cross-posting for you.
You create your content once, post it where you're most comfortable, and PostOnce intelligently shares it to LinkedIn and your other networks. It’s the direct solution for turning a repetitive task into a "set it and forget it" process, freeing you up to create more high-impact content. You can learn more about how to streamline your social media content distribution and make your video strategy work for you, not against you.
Why Video Is Your Strongest Asset on LinkedIn
Let's be real: if you want to stop the scroll on LinkedIn, a block of text or a static image just doesn't cut it anymore. Native video has completely taken over as the king of engagement. It’s transformed LinkedIn from a place for dusty resumes into a lively stage for professional storytelling and genuine brand building.
Why? It's simple. Video conveys the stuff text can't—your tone, your personality, the actual human connection.
This isn't just a fleeting trend. The LinkedIn algorithm is built to reward content that keeps people on the platform, and nothing does that better than video. When you upload a video directly to LinkedIn (what we call "native video"), it autoplays right in the feed, grabbing attention instantly. It's a fundamental shift in what works.
The Undeniable Power of Video Engagement
The numbers don't lie. Video content absolutely crushes other formats on almost every important metric.
We're talking about video posts being shared a staggering 20 times more than any other type of content. With video uploads growing by double-digits for three quarters straight, it's painfully obvious that professionals who aren't using video are leaving a massive opportunity on the table. You can explore more about the rise of visual content and see how different platforms are adapting.
If you're not building a video strategy for LinkedIn, you're willingly sacrificing engagement, reach, and potential leads. It is, without a doubt, the single most powerful tool for building trust and authority with your professional network today.
Nailing the Technical Specs for Your LinkedIn Video
Before you even think about hitting that upload button, we need to talk tech specs. Getting these details right from the start is the difference between a video that looks polished and professional versus one that gets hit with a frustrating upload error.
Think of these specifications as your pre-flight checklist. Skipping them is a rookie mistake I see all the time. A file that’s too big will get rejected flat out, and an awkward aspect ratio can crop your video in all the wrong places, butchering your message before anyone even sees it.
When you get the technical side right, the impact is huge—it directly translates into more engagement, a bigger network, and way more visibility.
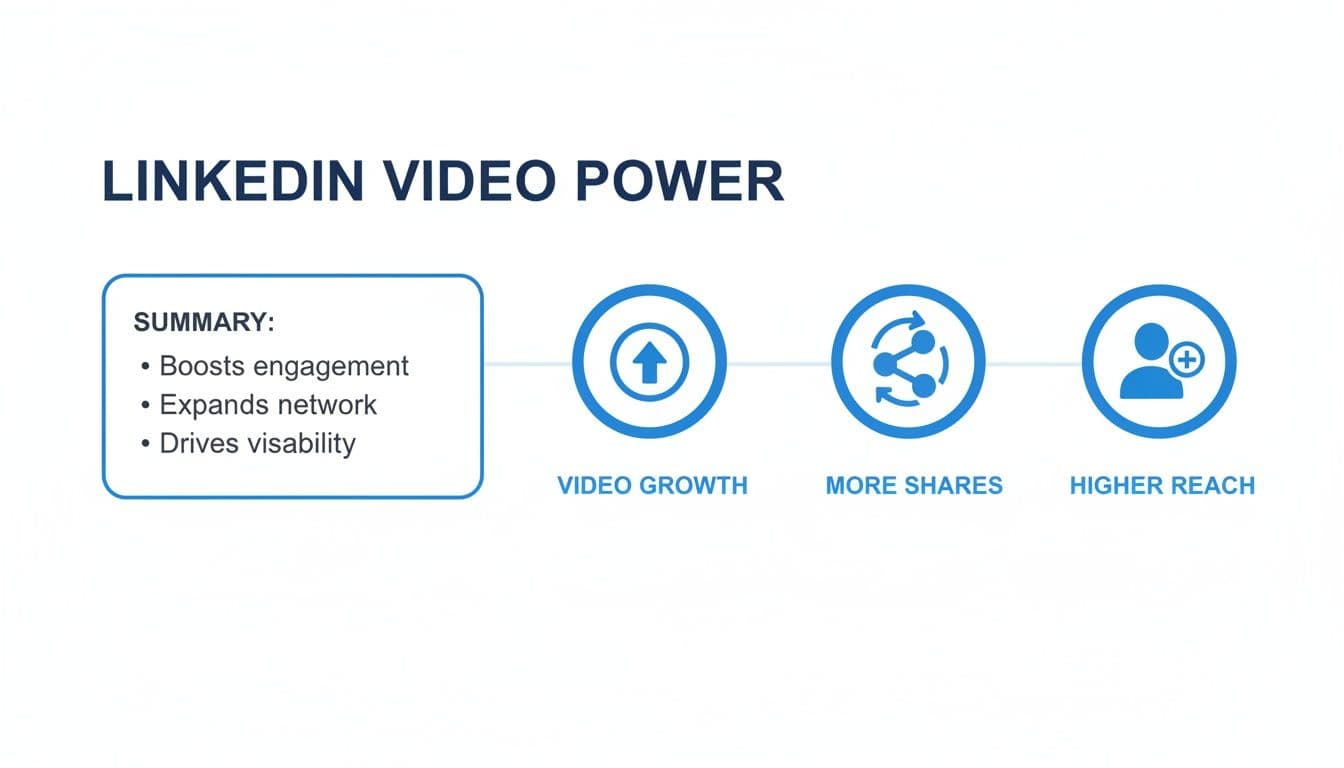
As you can see, there's a clear connection between a well-executed video and better performance on the platform. Let's get into the nitty-gritty so you can avoid those common pitfalls.
LinkedIn Native Video Specifications At a Glance
Here’s a quick reference table with the most critical numbers you need to know. Keep this handy, and you'll sidestep most of the common upload issues people run into.
| Specification | Requirement |
|---|---|
| File Format | MP4 (Recommended) |
| File Size | 75KB (min) to 5GB (max) |
| Video Length | 3 seconds (min) to 10 minutes (max) |
| Frame Rate | 10 fps to 60 fps |
| Aspect Ratio | Between 1:2.4 and 2.4:1 |
| Resolution | From 256x144 to 4096x2304 |
Sticking to these parameters is your first step toward a smooth, error-free upload every time.
Expert Tip: That 10-minute maximum is tempting, but don't feel like you need to use it. From my experience, the sweet spot for engagement on the feed is much shorter—usually between 30 and 90 seconds. Get in, deliver value, and get out.
Why Aspect Ratios and Resolution Really Matter
The shape and clarity of your video are a huge deal, especially since people will be watching on everything from a giant monitor to a tiny phone screen.
While LinkedIn technically supports a wide range from 1:2.4 to 2.4:1, you’ll want to stick to the big three for the best results:
- 16:9 (Horizontal): This is your classic widescreen format. It looks fantastic on a desktop and is perfect for more cinematic or professionally shot content.
- 1:1 (Square): A fantastic all-rounder. It takes up a good amount of screen real estate on both desktop and mobile feeds without feeling out of place on either.
- 9:16 (Vertical): This is non-negotiable for a mobile-first approach. With so many people scrolling on their phones, a vertical video fills the entire screen, creating a much more immersive and captivating experience.
If you want to get even more detailed, our complete guide to LinkedIn post specs covers all the content dimensions you'll ever need. Getting these technical details down is the foundation for posting a video that actually gets results.
How to Upload a Video to LinkedIn from Your Desktop
If you're looking to share a polished, high-impact video, uploading from your desktop is the way to go. It gives you far more control over the final product than posting from your phone. The process itself is pretty simple, but a few small details can make a huge difference in how your video performs.
Let’s walk through the exact steps, not just for the upload, but for adding those crucial finishing touches that actually get people to watch and engage.
Finding Your Way Around the LinkedIn Post Editor
First thing's first: head to your LinkedIn homepage. You can't miss the "Start a post" box at the top of your feed. Give that a click to open up the full editor.
Inside, you'll see a few icons. Look for the media icon—it usually looks like a little picture or video camera—and click "Video." This pops open a file browser where you can find and select the video you want to share from your computer. Once you pick it, LinkedIn will start processing it in the background.
Writing a Post That Gets Clicks
While your video is uploading, it's the perfect time to write the text that goes with it. This is your hook. A fantastic video can easily get scrolled past if the caption doesn't give people a reason to stop and watch.
A good post usually includes these key ingredients:
- A strong hook. Your first sentence is everything. Ask a thought-provoking question, share a surprising statistic, or tease the problem your video is about to solve.
- Smart hashtags. Stick to 3-5 relevant hashtags. Avoid generic ones like
#video. Instead, get specific with tags that describe your niche, like#ProjectManagementTipsor#B2BMarketingStrategy. This is how LinkedIn knows who to show your content to. - Strategic @mentions. If your video mentions another person or company, be sure to tag them using the "@" symbol. They'll get a notification, which often encourages them to share your post with their own network, boosting your reach.
Want to dive deeper into crafting the perfect post? We break it all down in our complete guide on how to post on LinkedIn.
The goal isn't just to describe what's in your video; it's to start a conversation. You want people to watch, but you also want them to comment. Try ending your post with a direct question, like, "What's the biggest challenge you've faced with this?"
Don't Skip These Post-Upload Tweaks
Once LinkedIn finishes processing your video, a few more options will appear. This is the final, and most important, step. Do not skip it.
First up is the thumbnail. LinkedIn will offer a few auto-generated frames from your video, but you should almost always upload a custom one. A clean, well-designed thumbnail with a bit of text acts like a mini-billboard for your video, making people want to click play.
Next, you'll see the option for captions. This is non-negotiable. Always take the time to upload a SubRip Subtitle (SRT) file. A massive number of people scroll their feed with the sound off, so without captions, your message is completely lost. You can generate SRT files with plenty of free online tools.
After you've added your thumbnail and captions, do one last quick review. Read your text for typos, make sure you've tagged the right people, and then you're ready to hit "Post." Taking those extra two minutes really does set your video up for success.
Posting a Video from the LinkedIn Mobile App
While uploading a polished video from your desktop is great, let's be real—inspiration doesn't always strike when you're sitting at your desk. Posting directly from the LinkedIn mobile app is your best bet for sharing authentic, in-the-moment content.
It’s a fantastic way to capture behind-the-scenes glimpses at a conference, share a quick thought leadership tip while it's fresh, or post an update from a team event. Honestly, knowing how to do this well is a crucial skill for anyone serious about building a presence on the platform.
Getting Your Video into the App
It all starts right on the home screen of the LinkedIn app. Just tap the “Post” button you see in the bottom navigation bar. This will bring up the composer.
From there, you’ve got two paths:
- Upload a video you already have. Tap the media icon (it usually looks like a little picture) to open your phone’s camera roll. Find the video you want, select it, and hit “Next.”
- Record something new. If an idea strikes you right then and there, tap the camera icon instead. This lets you record a video directly inside the app, which is perfect for those spontaneous moments.
Adding a Few Mobile-Only Flourishes
Once your video is loaded, LinkedIn gives you a few simple editing tools that are unique to the mobile experience. This is where you can add a bit of personality to make your post stand out in the feed.
You’ll see options to add text overlays directly onto your video—super useful for calling out a key takeaway or adding a quick headline. You can also drop in stickers to add a bit of visual flair or draw attention to something specific. These features are definitely more casual than a full-blown video editor, but they're incredibly effective for creating that native, made-for-mobile feel.
Quick tip from experience: The goal with mobile video is often about authenticity, not perfection. Focus on delivering your message clearly and genuinely. Don't get hung up on studio-level production quality.
Writing Your Caption and Hitting Publish
After you’ve added your creative touches, tap “Next” to get to the final screen. This is where you’ll write the text that goes with your video. My advice? Keep your caption "thumb-friendly." Think short sentences, maybe an emoji to break things up, and a clear call to action.
Just like on a desktop, you can (and should!) use relevant hashtags and @mentions to help people find your content. If you’re with a colleague or at a company's event, be sure to tag them.
Before you go live, take one last look at the visibility setting (it usually says "Anyone") right next to your name to make sure you’re sharing it with the right audience. Once everything looks good, just tap “Post” in the top-right corner, and you're done
Want to Automate Your LinkedIn Videos? Use PostOnce
Let's be honest, the most efficient way to get a video onto LinkedIn isn't to do it manually every single time. It's to automate the entire process with a tool like PostOnce.
Think about it: you create one great video, and instead of spending the next hour uploading it to LinkedIn, then X, then Instagram, the tool intelligently formats and publishes it everywhere for you. This is how you stop spending all your time on repetitive uploads and start focusing on creating better content.
Maintaining a consistent video presence is tough. Instead of getting bogged down by uploading the same file over and over, automation lets you put your energy back into the creative side of things while the software handles the distribution.
A Much Smarter Video Workflow
The real magic of a good automation tool isn't just blasting the same post everywhere. It's about adapting your content so it feels native to each platform. PostOnce is designed to intelligently tweak your posts for every network it goes to.
- It Optimizes the Format: The tool automatically adjusts the video dimensions. Your content will look perfectly at home as a square video on Instagram or a horizontal one on LinkedIn, with no extra effort from you.
- It Customizes the Captions: You can set up rules to tailor your captions on the fly. Maybe you want to strip out the Instagram-style hashtags for a cleaner, more professional post on LinkedIn? Done.
- It's "Set It and Forget It": You schedule your main post, and that's it. PostOnce handles the rest, pushing it out to all your connected accounts based on the rules you’ve already defined.
This “create once, publish everywhere” approach is a game-changer for anyone trying to get the most mileage out of their content without burning out.
Using an automation tool fundamentally changes how you approach content. It shifts your focus from tedious administrative tasks to the high-value creative work that actually grows your audience.
How PostOnce Solves the Cross-Posting Headache
Often, when someone searches for "how to post a video to LinkedIn," what they're really asking is how to do it efficiently without it taking up their whole day. Manually posting the same video to multiple platforms is a massive time sink, especially if you're a busy social media manager or a small business owner.
Many third-party tools simplify this; for instance, you might use something like Saucial's upload feature to get your content into the system. PostOnce is built to solve this exact problem.
Once you connect your LinkedIn account, you can set up simple cross-posting rules. For example, you can tell it to automatically share any new video from another network directly to LinkedIn, but with the right formatting and a different caption. This ensures every video feels polished and native, driving better engagement without you having to lift a finger.
You can learn more about LinkedIn cross-posting at https://postonce.to/crosspost/linkedin and see exactly how it could fit into your current workflow.
Strategies to Get the Most Out of Your LinkedIn Video
Getting your video uploaded is one thing. Making sure people actually stop scrolling long enough to watch it? That’s the real game. A few small tweaks to your approach can make a massive difference in how your video performs on LinkedIn.
First things first: you have about three seconds to earn someone's attention. The feed is a noisy, fast-moving place, so you have to give people a reason to stop. Kick things off with a bold claim, an unexpected visual, or a question that makes them think.
Just as important as your hook is your sign-off. Don't just let the video fade out. End with a specific, thought-provoking question that invites people to jump into the comments. This is one of the strongest signals you can send to the LinkedIn algorithm that your content is worth showing to more people.
Nail Your Timing and Content Focus
Believe it or not, when you post can be just as crucial as what you post. If you're targeting social media managers or small businesses, the sweet spot for maximum reach tends to be Monday at 1 PM PST.
The numbers back this up. Posts that generate a real discussion can see a staggering 437% increase in views compared to those that fall flat. And since videos are shared 20 times more than any other type of content, timing it right with a single, clear message is a recipe for success. Always, always include captions for the huge number of people who watch with the sound off. You can learn more about what's coming next for LinkedIn at brightwords.co.uk.
Your goal isn't just to broadcast a message; it's to start a conversation. A video that gets comments is a video that gets seen. The algorithm rewards dialogue, so make it easy for your audience to participate.
Think about how this one video serves your larger content goals. If you're looking for more ways to spark these valuable conversations, take a look at our guide on how to boost social media engagement. It’s packed with tips to help you turn viewers into a real community.
Common Questions About LinkedIn Videos
Even with the best strategy, you're bound to run into a few questions when you start getting serious about video on LinkedIn. Let's walk through some of the most common ones I hear so you can get back to posting with confidence.
What Is the Best Length for a LinkedIn Video?
I get this one all the time. For a video in the main feed, you want to aim for that sweet spot between 30 and 90 seconds. That's usually just enough time to grab attention, deliver a key insight, and stick the landing before someone scrolls past.
From what I've seen, videos that clock in under 60 seconds almost always have the highest completion rates. People are busy, so get to the point quickly.
Should I Upload Natively or Share a YouTube Link?
This is an easy one: always upload your video natively to LinkedIn. Always.
Think about it from LinkedIn's perspective. They want to keep users on their platform, not send them over to a competitor like YouTube. Their algorithm is built to reward content that does just that.
When you upload natively, your video autoplays in the feed, gets a much bigger, more inviting preview, and racks up way more views and shares than an external link ever will. It’s a non-negotiable for getting real reach.
It's simple, really. You're playing on LinkedIn's home turf, so you have to play by their rules. Natively uploaded content is their rule, and following it gets you rewarded with more visibility.
What If My Video Upload Fails?
First off, don't panic. This happens to everyone, and it's almost always a simple fix.
Before you do anything else, go back and double-check the technical specs. Nine times out of ten, the problem is one of these:
- Unsupported file format: Stick with MP4 to be safe.
- File size is too big: The limit is 5GB.
- Video is too long: The max is 10 minutes for a standard feed post.
A weak internet connection can also cause an upload to time out. If all the specs look good, try clearing your browser's cache and giving it another shot. That often clears up any weird glitches.
Tired of juggling individual uploads for every platform? If you're ready to create your video once and have it automatically shared across all your social channels—perfectly formatted for each one—PostOnce can help. Discover how PostOnce can automate your entire video workflow today.