Automatically Post Your Instagram Reels To Facebook Reels
PostOnce automatically posts eligible Instagram Reels to Facebook Reels, without downloading, re-uploading, or rebuilding the same post by hand.
Get Started Free7-day free trial · Cancel anytime
The reality of posting Instagram Reels to Facebook
! Native crossposting exists but requires Accounts Center setup
+ ! Crossposting toggles per post type (Stories, Posts, Reels) must be configured
+ ! Requires Facebook Page or Profile linked in Meta Accounts Center
+ ! Some content types or music licenses may not transfer
↓ There's an easier way
What You Need to Know
How to set up Instagram-to-Facebook crossposting
The setup is in Meta's Accounts Center, not Instagram's settings directly.
Go to your Instagram profile → Settings → Accounts Center → Sharing across profiles.
You will see your linked Facebook accounts there.
Toggle on the content types you want to crosspost — Posts, Stories, Reels, or all three.
Make your Facebook Reels land with the Facebook audience
Even with native crossposting, a Reel designed for Instagram does not automatically work for Facebook's audience.
Three adjustments improve Facebook performance.
Automate what the native toggle can't do
Meta's native crossposting toggle works well for straightforward Reels from a single Instagram to a single Facebook Page.
Where it falls short: multiple Instagram accounts, multiple Facebook Pages, content filtering (crossposting some Reels but not others based on topic or format), and caption adaptation per platform.
7-day free trial · Cancel anytime
Features
How PostOnce Handles It
Set up Instagram to Facebook crossposting once. PostOnce automates the rest, so one native Instagram post can trigger a matching Facebook upload automatically.
Connect Instagram
Choose the Instagram account PostOnce should monitor for new eligible posts.
Connect Facebook
Choose the Facebook account or Page that should receive the native upload.
Create the workflow
Set content filters, caption rules, and timing once. PostOnce handles future matching posts automatically.
Easy Instagram Crossposting Setup
Connect your Instagram and Facebook accounts, choose your crosspost rules, and you're done.
Setup takes under 60 seconds. After that, everything runs automatically in the background.
Start your free trial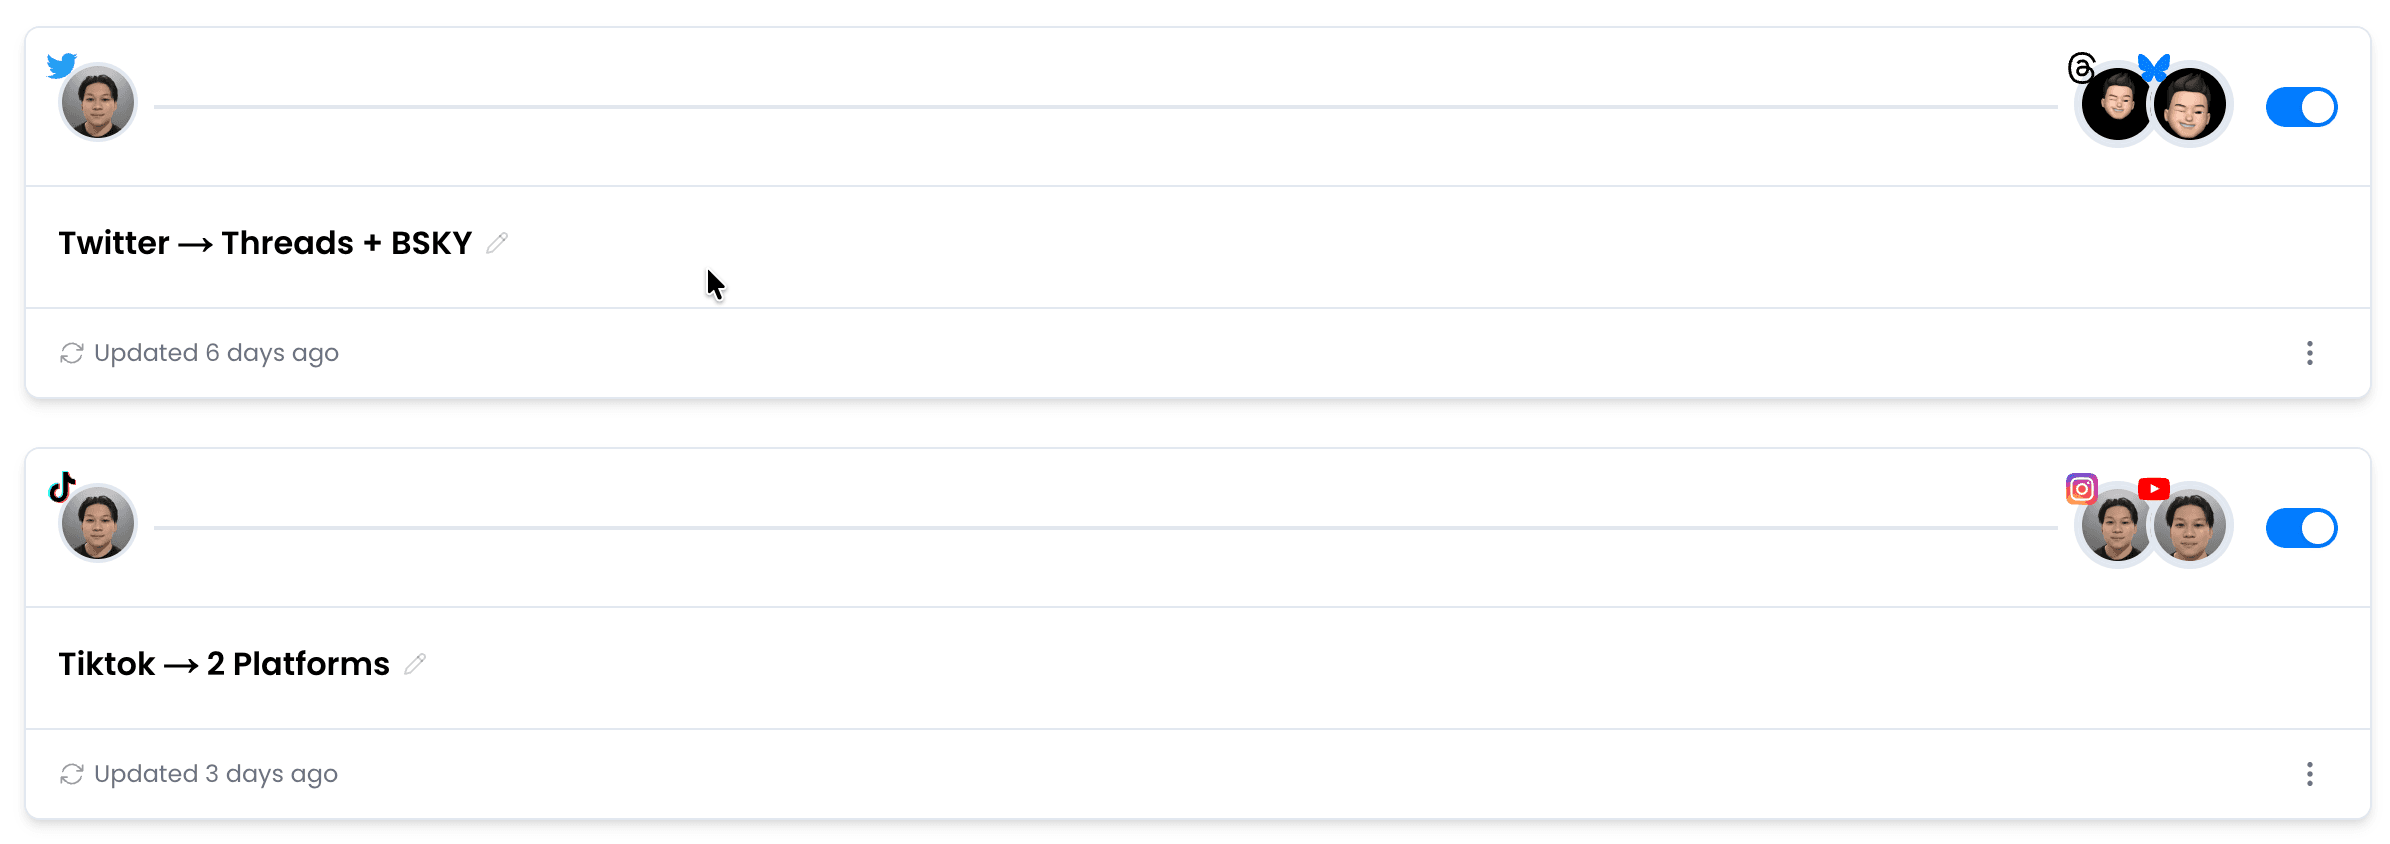
Native Video Upload to Facebook
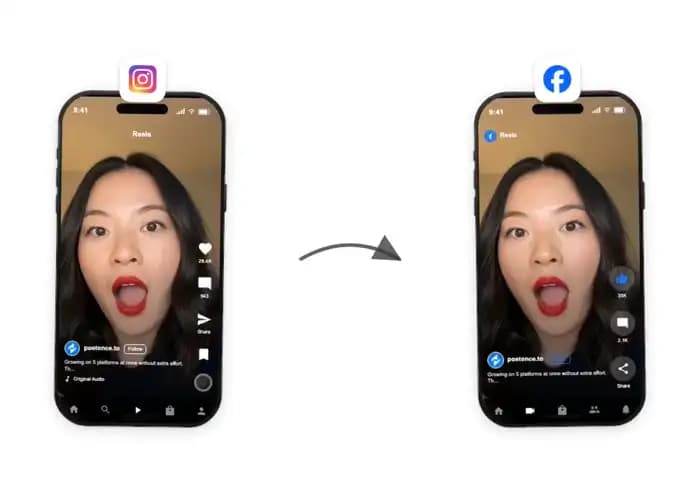
When you crosspost Instagram to Facebook, PostOnce uploads the actual video file — not a link, not a preview.
Your Instagram content appears as a native Facebook post, indistinguishable from content uploaded directly.
Start your free trialCustom Crosspost Rules
Not every Instagram post belongs on Facebook. Set hashtag filters, content type rules, or account-level controls to choose what gets crossposted.
Only the content you want on Facebook ends up there.
Start your free trial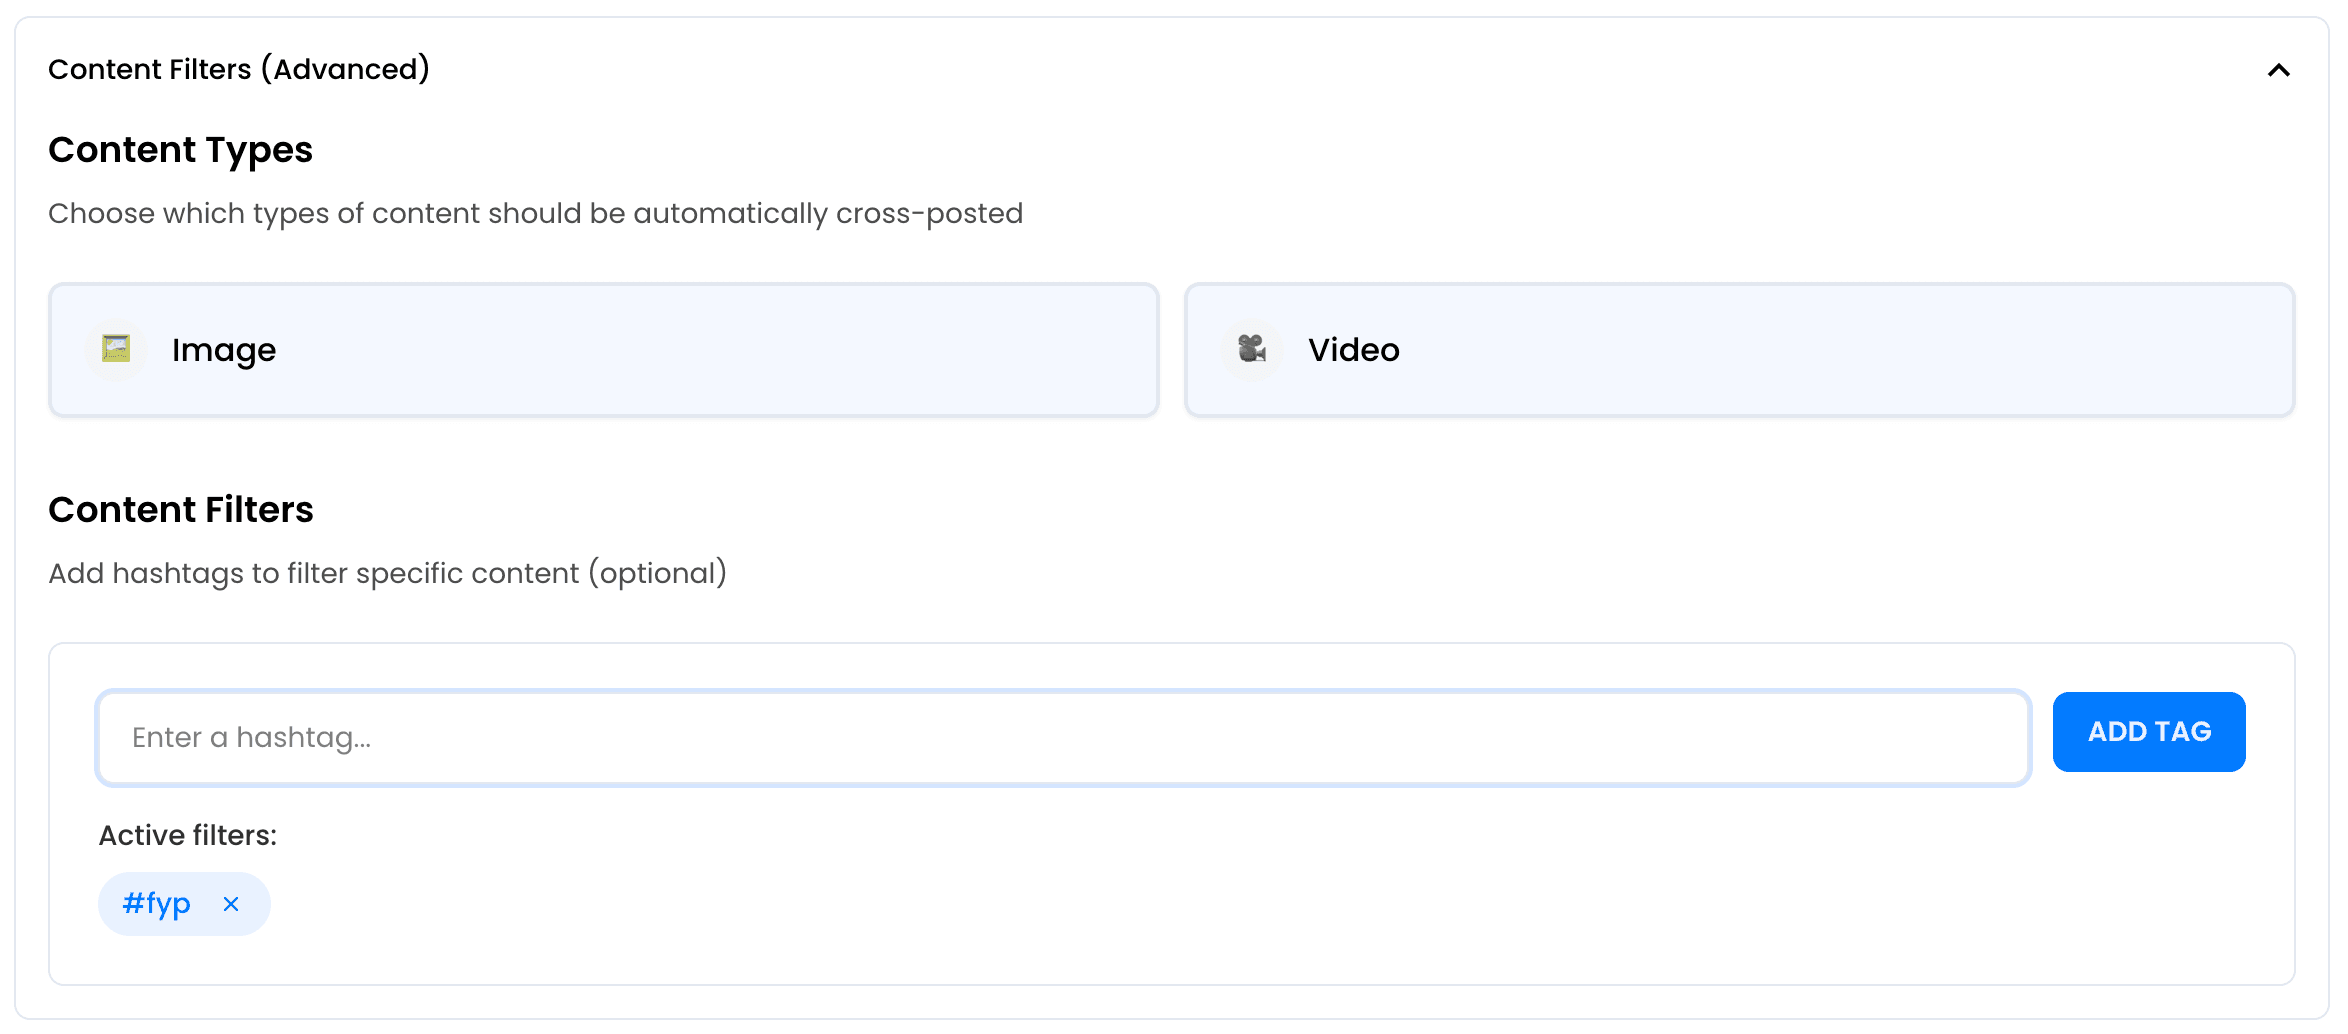
Automatically Post Your Content to Multiple Platforms
Don't stop at Instagram to Facebook crossposting. Automatically post your Instagram Reels to YouTube Shorts, Facebook, LinkedIn, Threads, and more — all at once.
One post, everywhere. Each platform gets a native upload with adapted formatting.
Start your free trialReal-Time Automation
PostOnce monitors your Instagram account and automatically crossposts new content to Facebook.
No scheduling, no batching. Publish on Instagram and it appears on Facebook within minutes — fully automated Instagram to Facebook posting.
Start your free trial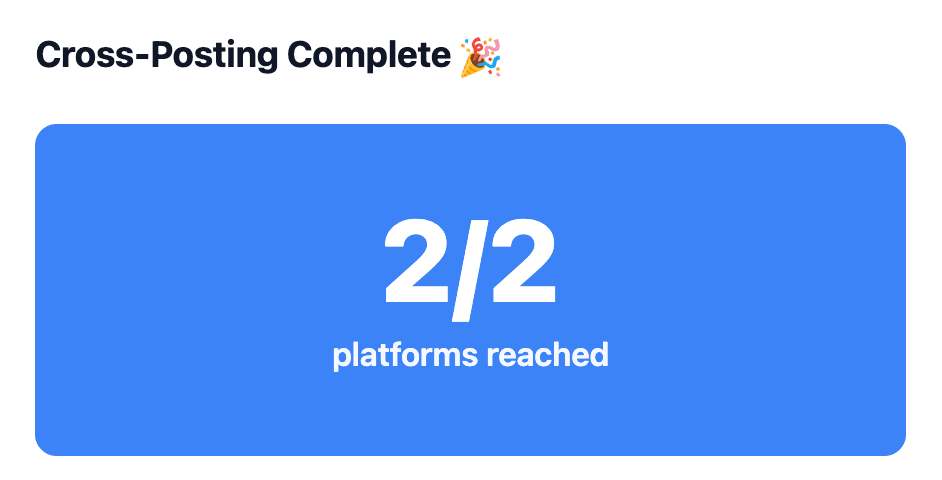
Direct answer
Can PostOnce automatically post from Instagram to Facebook?
Yes, PostOnce can automatically post eligible Instagram Reels to Facebook Reels with a reusable crossposting workflow. This is crossposting automation: you publish on Instagram, PostOnce watches for eligible Instagram Reels, and Facebook receives its own native post instead of a copied link preview.
Content types
Primary wording plus related formats
Instagram source formats
This workflow leads with Instagram Reels, and also covers related Instagram formats:
Facebook destination formats
The destination focus is Facebook Reels, while also covering related Facebook surfaces:
Manual sharing
The manual route usually means sharing a link, sending to a Story, making a Feed post, or downloading the media and uploading it again.
- Link previews send traffic back to Instagram.
- Watermarks or source branding can hurt trust.
- Repeated downloads make daily posting hard to scale.
- Formats and captions often need cleanup.
Automatic workflow
PostOnce turns the same workflow into a repeatable rule: source account, destination account, filters, and automatic publishing.
- Connect Instagram as the source.
- Connect Facebook as the destination.
- Choose which posts should crosspost.
- Let PostOnce publish future matches automatically.
Alternatives and limits
IFTTT-style automations and native share buttons can be useful, but they often create status updates, links, or previews instead of native destination posts.
- Manual sharing is fine for one-off posts.
- Generic repurposing tools may require export first.
- Platform API limits still control what can publish.
- Music rights do not automatically transfer.
What gets adapted from Instagram to Facebook
Captions
Instagram captions fit within Facebook's limit.
Hashtags
Facebook: Hashtags have minimal impact; 1-2 relevant hashtags max.
Aspect ratio
Video may need adaptation toward 16:9.
Destination format
Eligible videos publish through the Facebook Reels upload path.
Watermark and metadata
PostOnce prepares media for the destination instead of reposting a link card.
Music and audio rights
Licensed Instagram sounds may not be usable on Facebook.
New posts and existing content
For new posts, PostOnce can watch your Instagram source and publish eligible Instagram Reels to Facebook Reels after the workflow is created.
For existing or backlog content, use PostOnce to refill a workflow deliberately instead of dumping months of posts at once. Scheduled batches keep the destination account active without overwhelming followers.
If a video is longer than Facebook's destination limit, it needs trimming or review before publishing. Facebook Reels upload errors currently require videos to be between 3 and 90 seconds.
Facebook Reels, Feed, Stories, Pages, and Groups
Facebook Reels
Supported for eligible video posts through the Facebook Reels upload path.
Facebook Feed
Supported for text, image, album, and non-Reel feed publishing on a connected Page.
Facebook Story
Manual sharing surface; do not treat a Story link as the same thing as a native Reel.
Facebook Page
PostOnce connects and publishes to Facebook Pages with the required Page access.
Facebook Group
Group sharing is a community tactic, but PostOnce Facebook publishing is Page-based today.
Proof before you turn it on
Confirm the connected source account
Select the destination account or Page
Review filters and caption rules
Check the queue and destination post after publish
Instagram vs Facebook at a Glance
| Spec | ||
|---|---|---|
| Caption Limit | 2,200 chars | 63,206 chars |
| Max Video Length | 1h | 4h |
| Preferred Aspect Ratio | 9:16 | 16:9 |
| Max Video File Size | 4GB | 10GB |
| Carousel Support | Up to 10 items | Up to 10 items |
| Hashtag Strategy | Up to 30 | Unlimited |
| Link Support | No | Yes |
| Primary Audience | 18-34 | 25-54 |
Trusted by Creators & Brands


Frequently Asked Questions
Yes. With PostOnce, you can connect Instagram as the source, choose Facebook as the destination, and create a workflow so new matching Instagram posts are crossposted to Facebook automatically.
Connect both accounts in PostOnce, create a Instagram to Facebook crossposting workflow, and choose your content filters. After setup, PostOnce can detect new eligible Instagram posts and publish them to Facebook without manual downloading or re-uploading.
Yes. PostOnce lets one eligible Instagram post trigger a matching Facebook post, so you can keep both platforms active without rebuilding the same content twice.
PostOnce preserves your media quality and can carry captions across because Facebook's 63,206 character limit accommodates Instagram's 2,200 character limit. Media format, hashtags, and destination rules still depend on each platform's requirements.
Yes. Use hashtag filters to control which posts crosspost. For example, add #crosspost to Instagram captions and only those posts will go to Facebook. Or exclude specific hashtags to skip certain content.
Yes. Meta's native sharing toggle can work for linked accounts, but it often gives you less control over which Reels go to Facebook and how they are formatted. PostOnce lets you create a reusable Instagram to Facebook rule, keep captions and hashtags appropriate for Facebook, and avoid manually re-uploading Reels when you want a consistent crossposting workflow.
Related Crossposting Workflows
How to automatically post your Instagram Reels to YouTube Shorts
Automatically post your Instagram Reels to YouTube Shorts without the download and upload loop.
How to automatically post your Instagram Reels to TikTok
Automatically post your Instagram Reels to TikTok with platform-ready captions and media.
How to automatically post your Instagram Reels to LinkedIn
Set up automatic crossposting from Instagram Reels to LinkedIn.
Repurpose Instagram for Facebook
Adapt this workflow for clips, captions, and content reuse.
How to automatically post your Facebook Reels to Instagram Reels
Go the other direction.
Instagram crossposting guides
More destinations from Instagram
All crosspost guides
Browse every platform workflow
Start Crossposting Instagram to Facebook
Connect your Instagram and Facebook accounts and start crossposting in minutes. No technical setup required.
Get Started FreeFree 7-day trial · Cancel anytime