Crosspost from YouTube to Instagram Automatically
Auto post YouTube to Instagram instantly — no downloads, no re-uploads, no manual work. Just publish on YouTube and your content appears on Instagram, with captions and media adapted for the destination when needed.
Get Started Free7-day free trial · Cancel anytime
Why you can't just share a YouTube video to Instagram
! Instagram does not allow clickable YouTube links in feed posts or Reels captions
+ ! YouTube thumbnail aspect ratio (16:9) is wrong for Instagram feed (1:1 or 4:5)
+ ! Reels max duration is 90 seconds — most YouTube videos are much longer
+ ! Sharing a YouTube link in Stories only works for accounts with link stickers enabled
+ ! Instagram algorithm deprioritizes Reels with YouTube watermarks
↓ There's an easier way
What You Need to Know
How creators repurpose YouTube content for Reels
The practical workflow: download the video file from YouTube Studio, crop or edit it to 9:16 in a tool like CapCut or DaVinci, trim it to under 90 seconds if needed, and upload it as a Reel.
The caption for Instagram has to be standalone — no 'link in description' language because there is no clickable description link.
Use a 'link in bio' call-to-action instead if you want to drive traffic to the full video.
Hashtags work differently here too: Instagram Reels respond to a mix of niche and broad tags, not the keyword-dense approach that works on YouTube.
Getting your Reels to actually look native
Instagram's Reels algorithm rewards watch time, saves, and shares — not views alone.
Your hook needs to land in the first second.
Burned-in subtitles perform better than hoping viewers turn on captions.
Add text overlays using Reels' native text tool after upload, since content edited inside Instagram gets a small reach boost.
Cover images matter: pick a frame with a clear face or bold graphic, not a black screen.
If your YouTube Short is already 9:16 with a strong open, it maps cleanly to a Reel without much rework.
PostOnce handles the YouTube-to-Reels pipeline
When you publish on YouTube, PostOnce picks up the video, reformats it to 9:16 for Reels, strips any YouTube watermarks, and adapts the caption for Instagram's style.
You get a Reel posted natively without opening the Instagram app.
No download, no re-upload, no reformatting by hand.
7-day free trial · Cancel anytime
Features
How PostOnce Handles It
Set up YouTube to Instagram crossposting once. PostOnce automates the rest.
Easy YouTube Crossposting Setup
Connect your YouTube and Instagram accounts, choose your crosspost rules, and you're done.
Setup takes under 60 seconds. After that, everything runs automatically in the background.
Start your free trial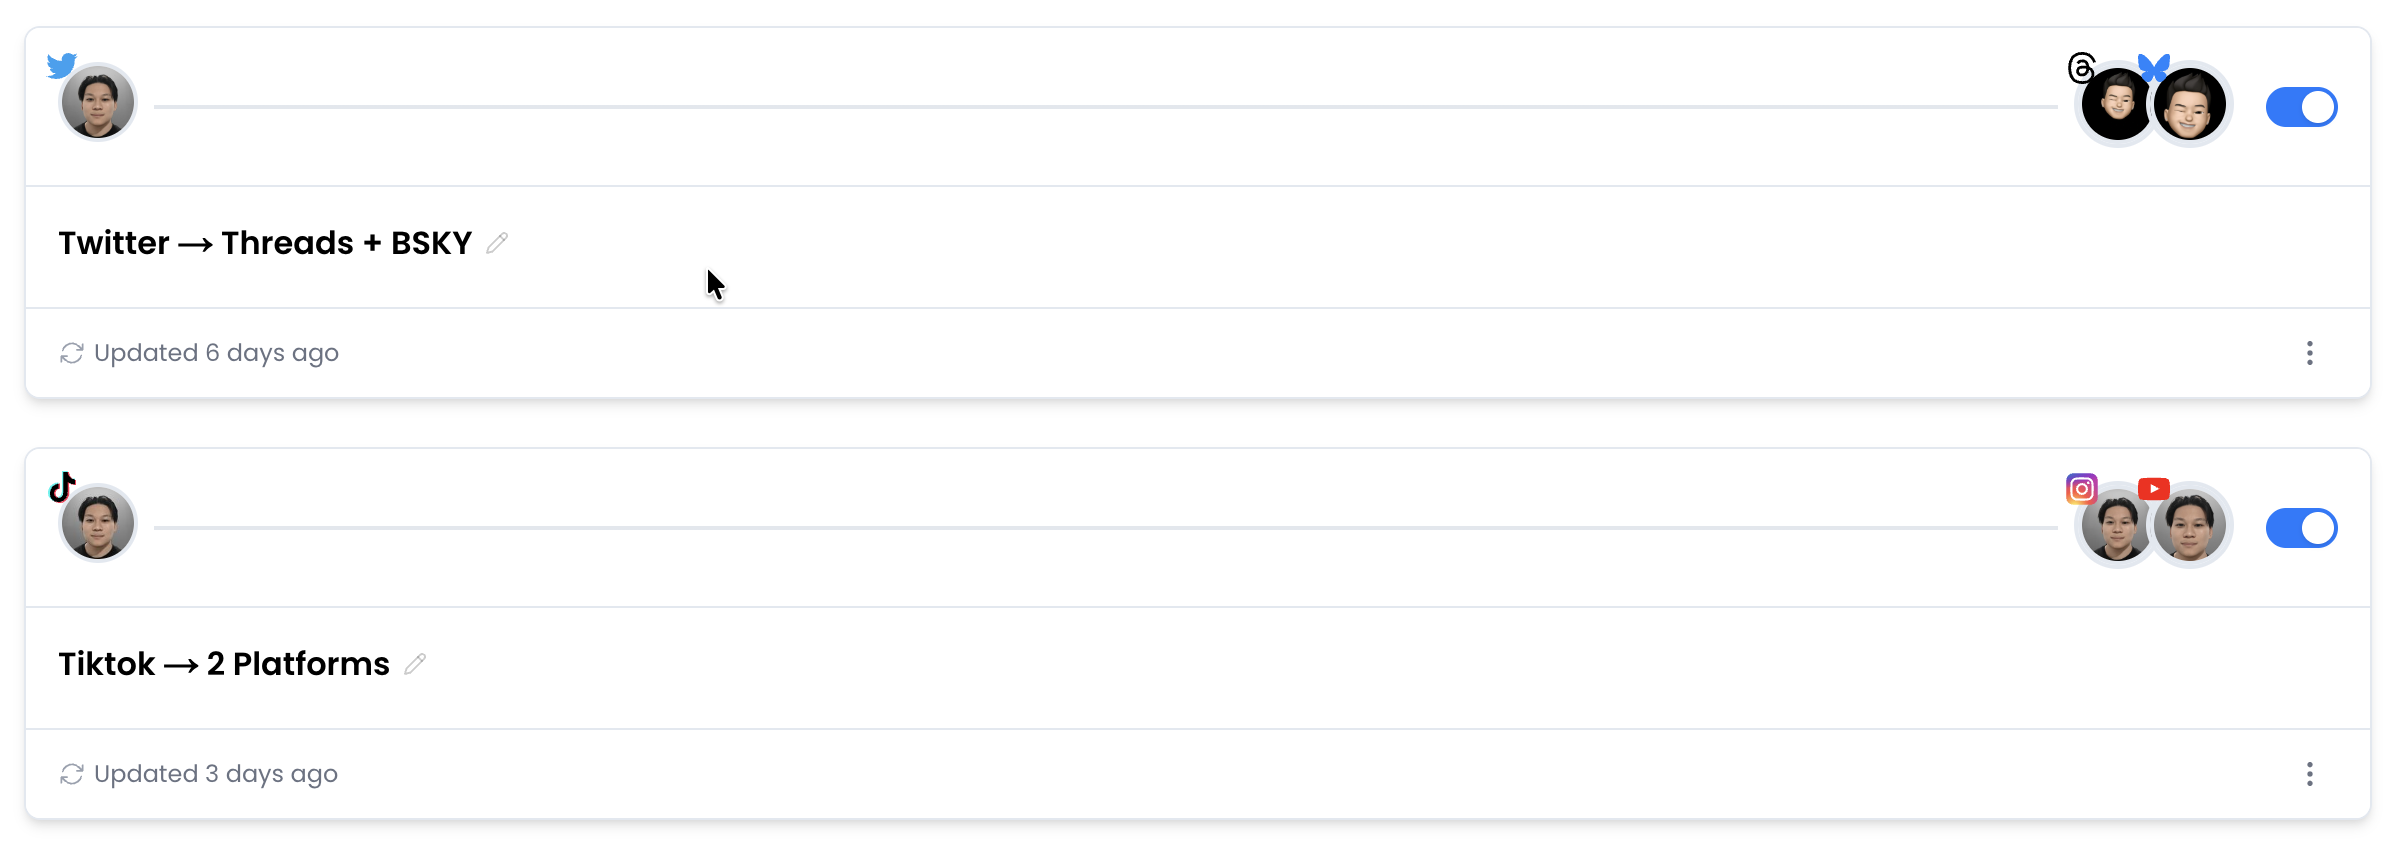
Native Video Upload to Instagram
When you crosspost YouTube to Instagram, PostOnce uploads the actual video file — not a link, not a preview.
Your YouTube content appears as a native Instagram post, indistinguishable from content uploaded directly.
Start your free trialCustom Crosspost Rules
Not every YouTube post belongs on Instagram. Set hashtag filters, content type rules, or account-level controls to choose what gets crossposted.
Only the content you want on Instagram ends up there.
Start your free trial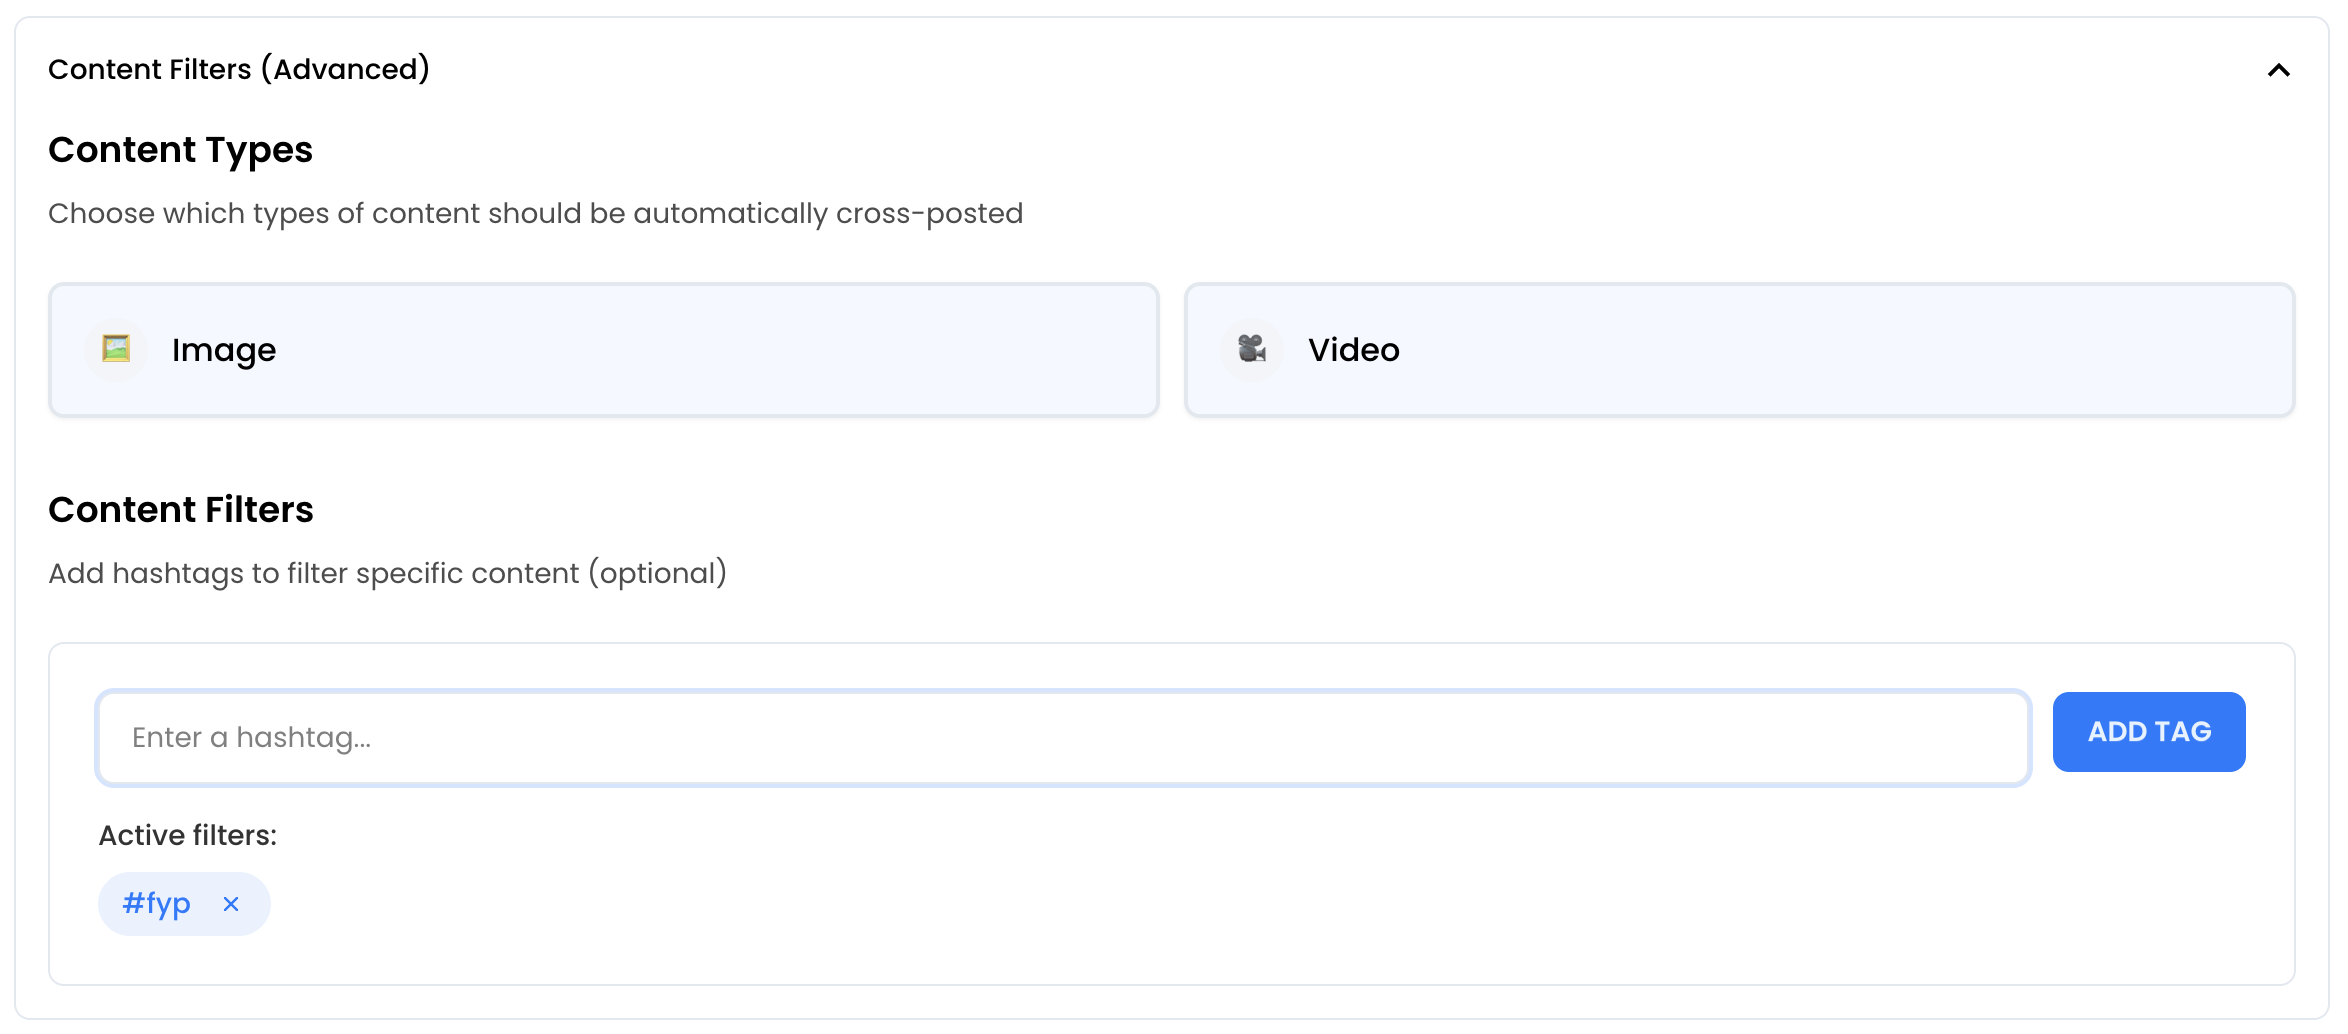
Auto Post to Multiple Platforms
Don't stop at YouTube to Instagram crossposting. Auto post your YouTube content to YouTube Shorts, Facebook, LinkedIn, Threads, and more — all at once.
One post, everywhere. Each platform gets a native upload with adapted formatting.
Start your free trialReal-Time Automation
PostOnce monitors your YouTube account and automatically crossposts new content to Instagram.
No scheduling, no batching. Publish on YouTube and it appears on Instagram within minutes — fully automated YouTube to Instagram posting.
Start your free trial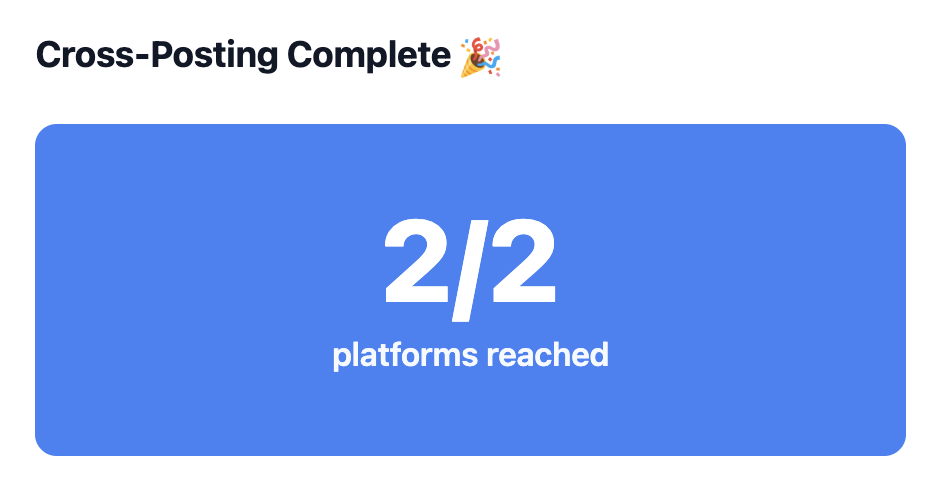
YouTube vs Instagram at a Glance
| Spec | YouTube | |
|---|---|---|
| Caption Limit | 5,000 chars | 2,200 chars |
| Max Video Length | 12h | 1h |
| Preferred Aspect Ratio | 16:9 | 9:16 |
| Max Video File Size | 256GB | 4GB |
| Carousel Support | No | Up to 10 items |
| Hashtag Strategy | Up to 60 | Up to 30 |
| Link Support | Yes | No |
| Primary Audience | 18-49 | 18-34 |
Trusted by Creators & Brands


Frequently Asked Questions
Under 60 seconds. Connect both your YouTube and Instagram accounts, choose your filter rules, and you're done. New YouTube posts will automatically appear on Instagram.
PostOnce automatically adapts your 16:9 YouTube videos to Instagram's preferred 9:16 format, ensuring they look native.
Yes. Use hashtag filters to control which posts crosspost. For example, add #crosspost to YouTube captions and only those posts will go to Instagram. Or exclude specific hashtags to skip certain content.
PostOnce intelligently adapts your captions from YouTube's 5,000 character limit to fit Instagram's 2,200 character limit, preserving your key message.
Use a Reel for discovery, a Story when you want to send viewers to the full video with a link sticker, and a feed post for an evergreen clip on your profile. Upload a native vertical clip rather than pasting a YouTube link. Only repurpose videos and audio you have permission to use.
Start Crossposting YouTube to Instagram
Connect your YouTube and Instagram accounts and start crossposting in minutes. No technical setup required.
Get Started FreeFree 7-day trial · Cancel anytime